
Import a List of Students to Your Account (Teacher)
Welcome to your guide on importing a list of students to your Typing.com account! This process is straightforward and will help you get your class roster set up in no time. Follow these steps to ensure a smooth import and get your students ready to learn.
Pro-Tips for a Successful Import:
To import a list of students successfully, you must upload a file in Comma Separated Values (.csv) format with correctly titled columns. Check out our guide on How To Create A Comma Separated Values (.CSV) Format File for more details.
Usernames must be unique across all Typing.com accounts. If you see an error indicating a username is already in use, you must edit it. For example, if the username "fernandocote" is taken, consider changing it to:
cotefernando
fcote
fernandoc
ferco-2019
Usernames cannot exceed 30 characters. Ensure your school domain doesn't cause usernames to go over this limit.
Including an email address for each student is not mandatory, but the email column header must be present in the CSV file.
Step 1: Log in to your teacher portal HERE.
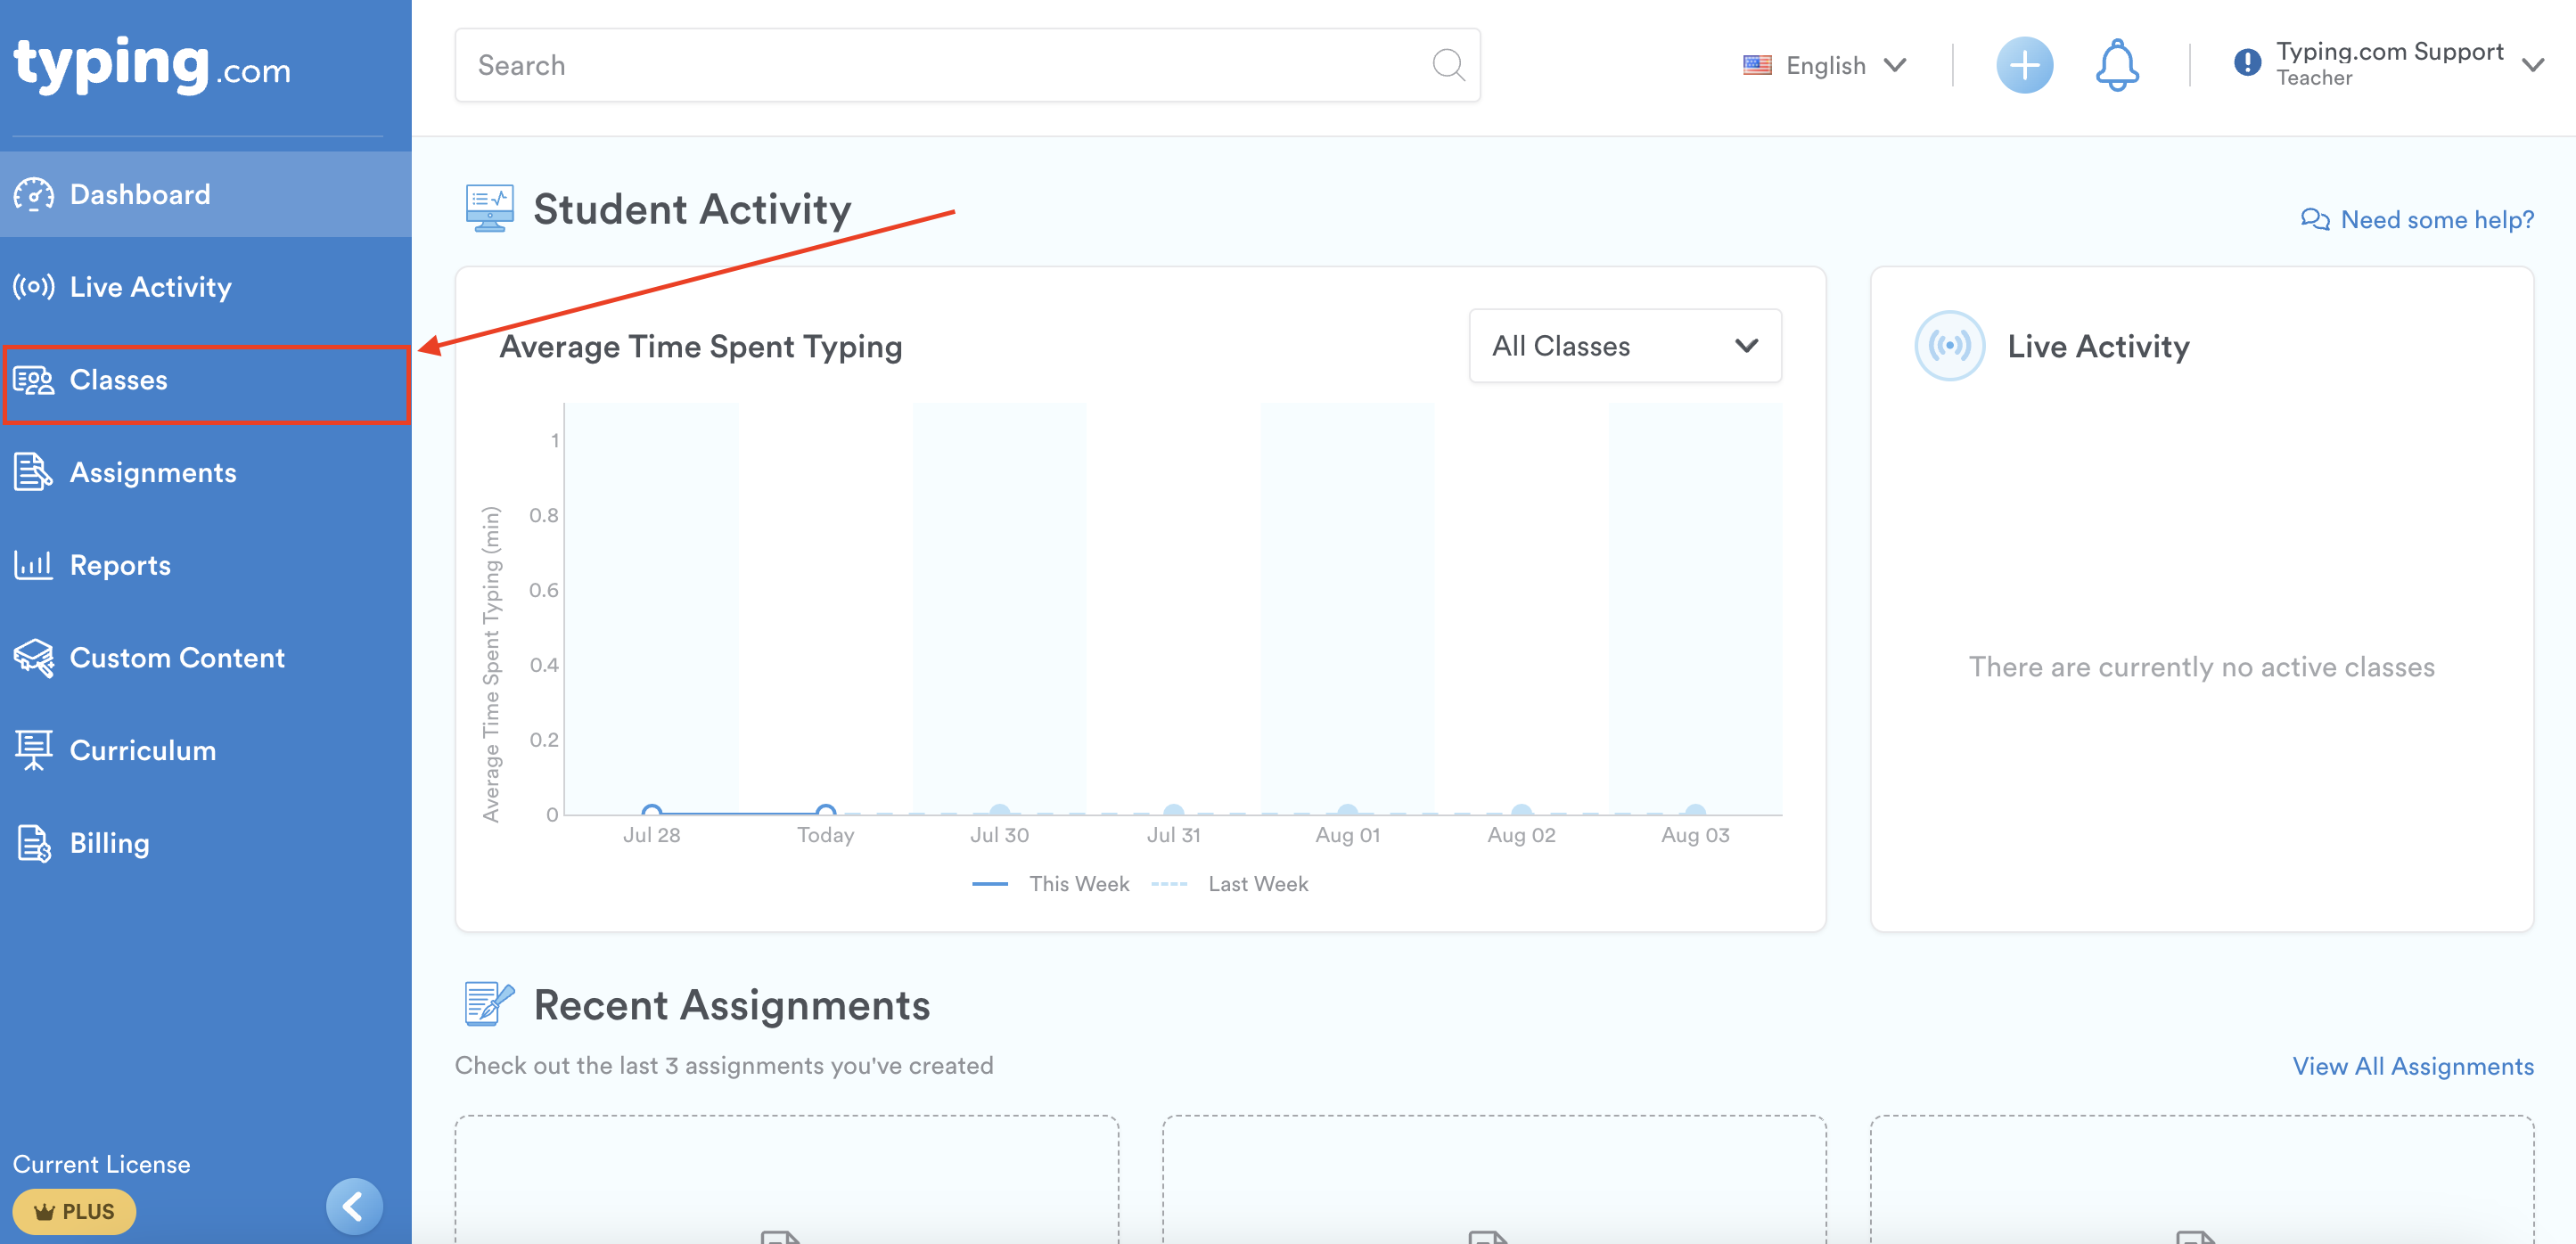
Step 2: Click on “Classes.”
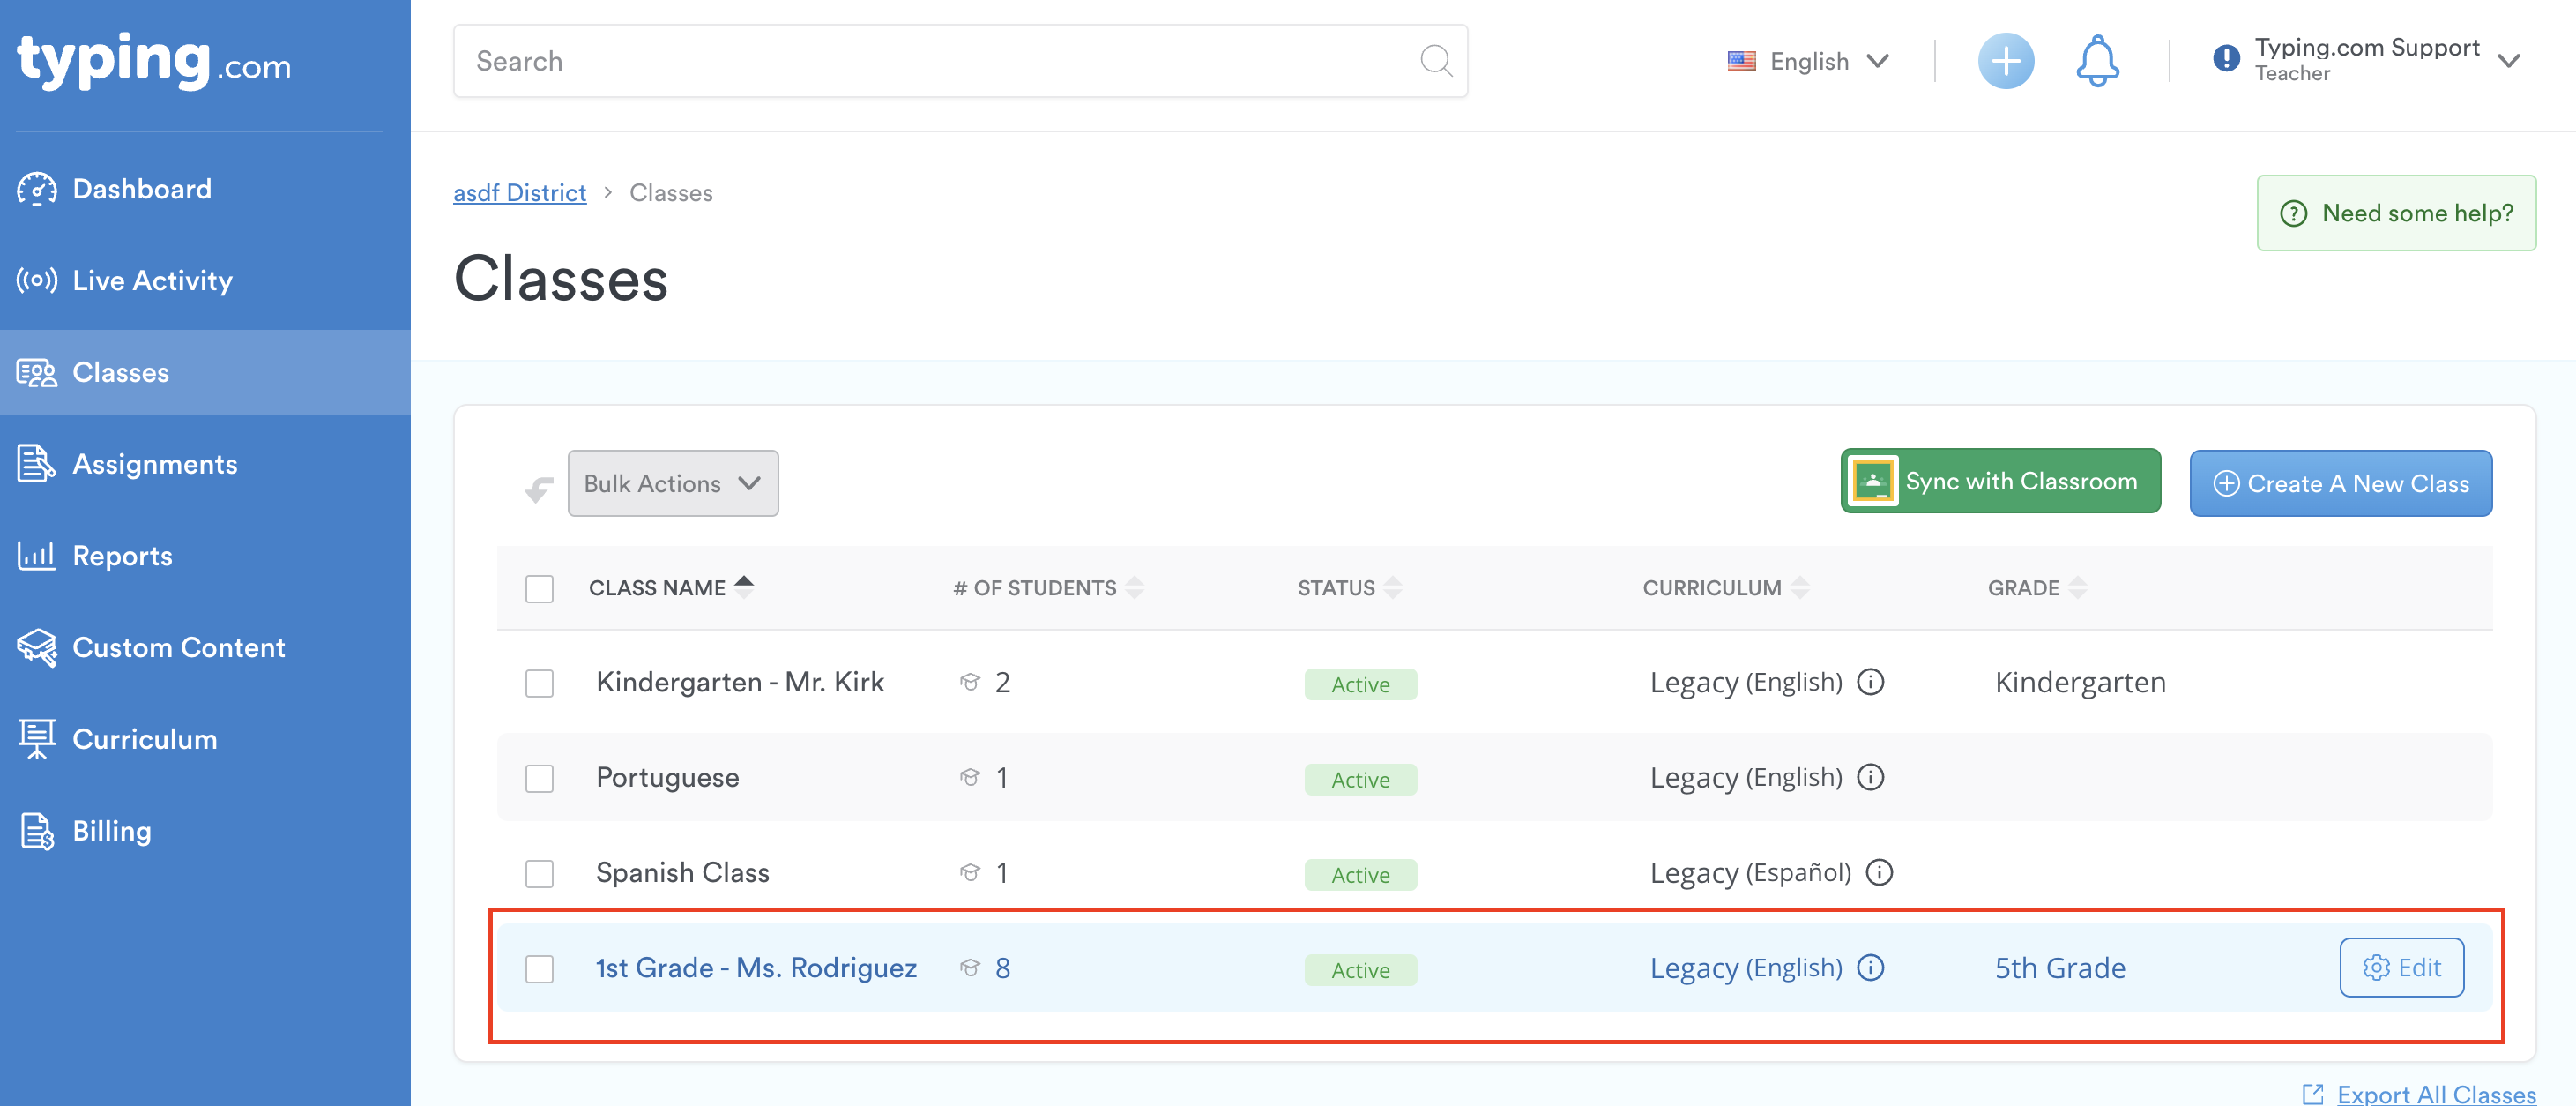
Step 3: Click the name of the class into which you wish to import your student list (or create a new class)
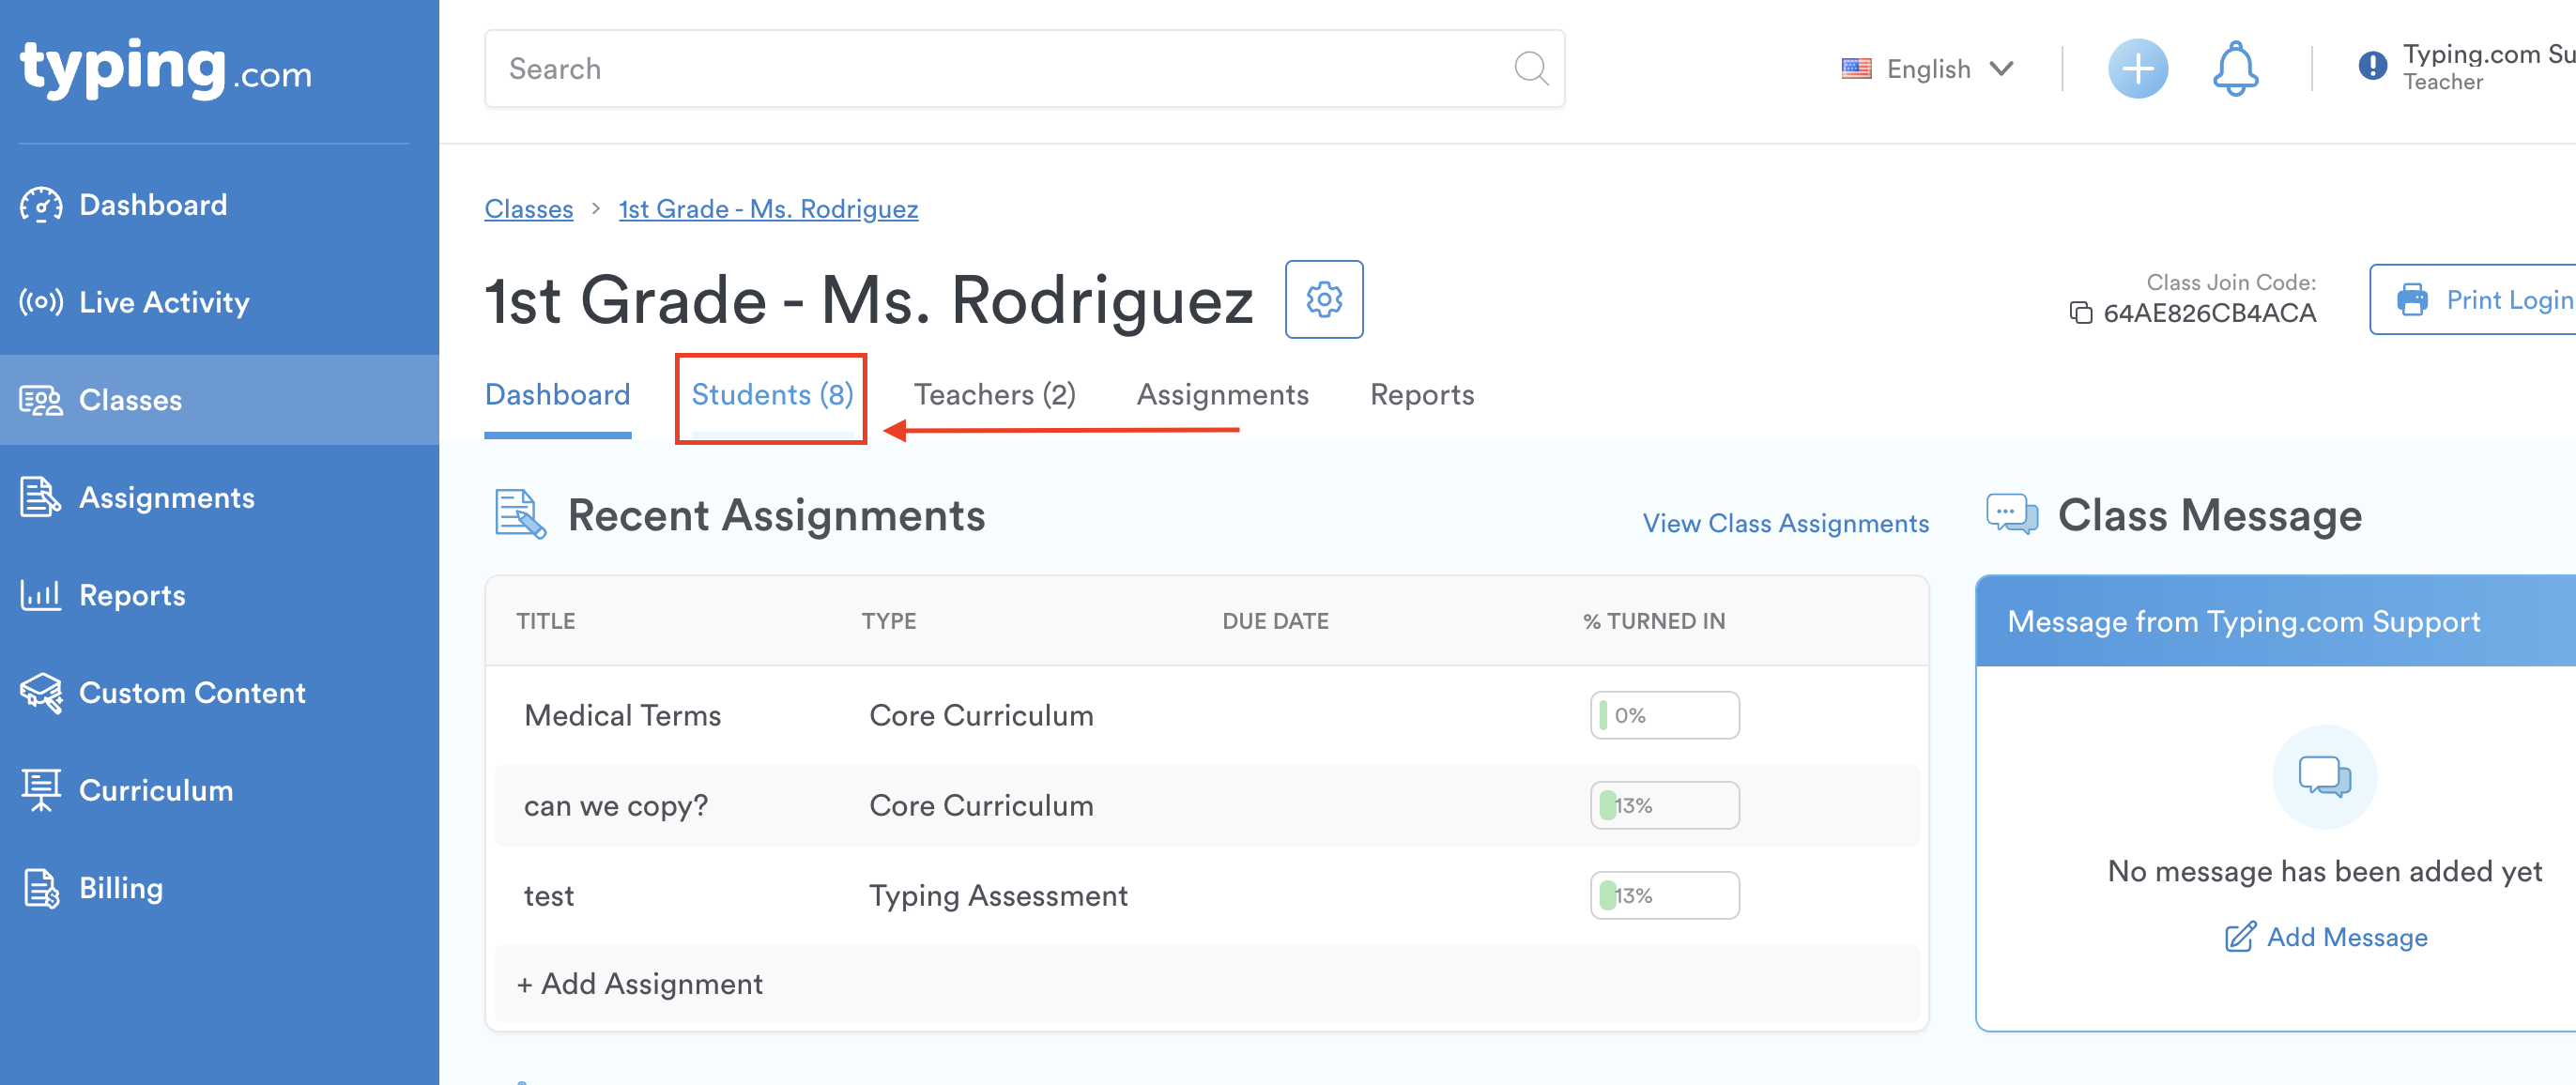
Step 4: Inside the class page, click on the 'Students' tab to access the class roster.
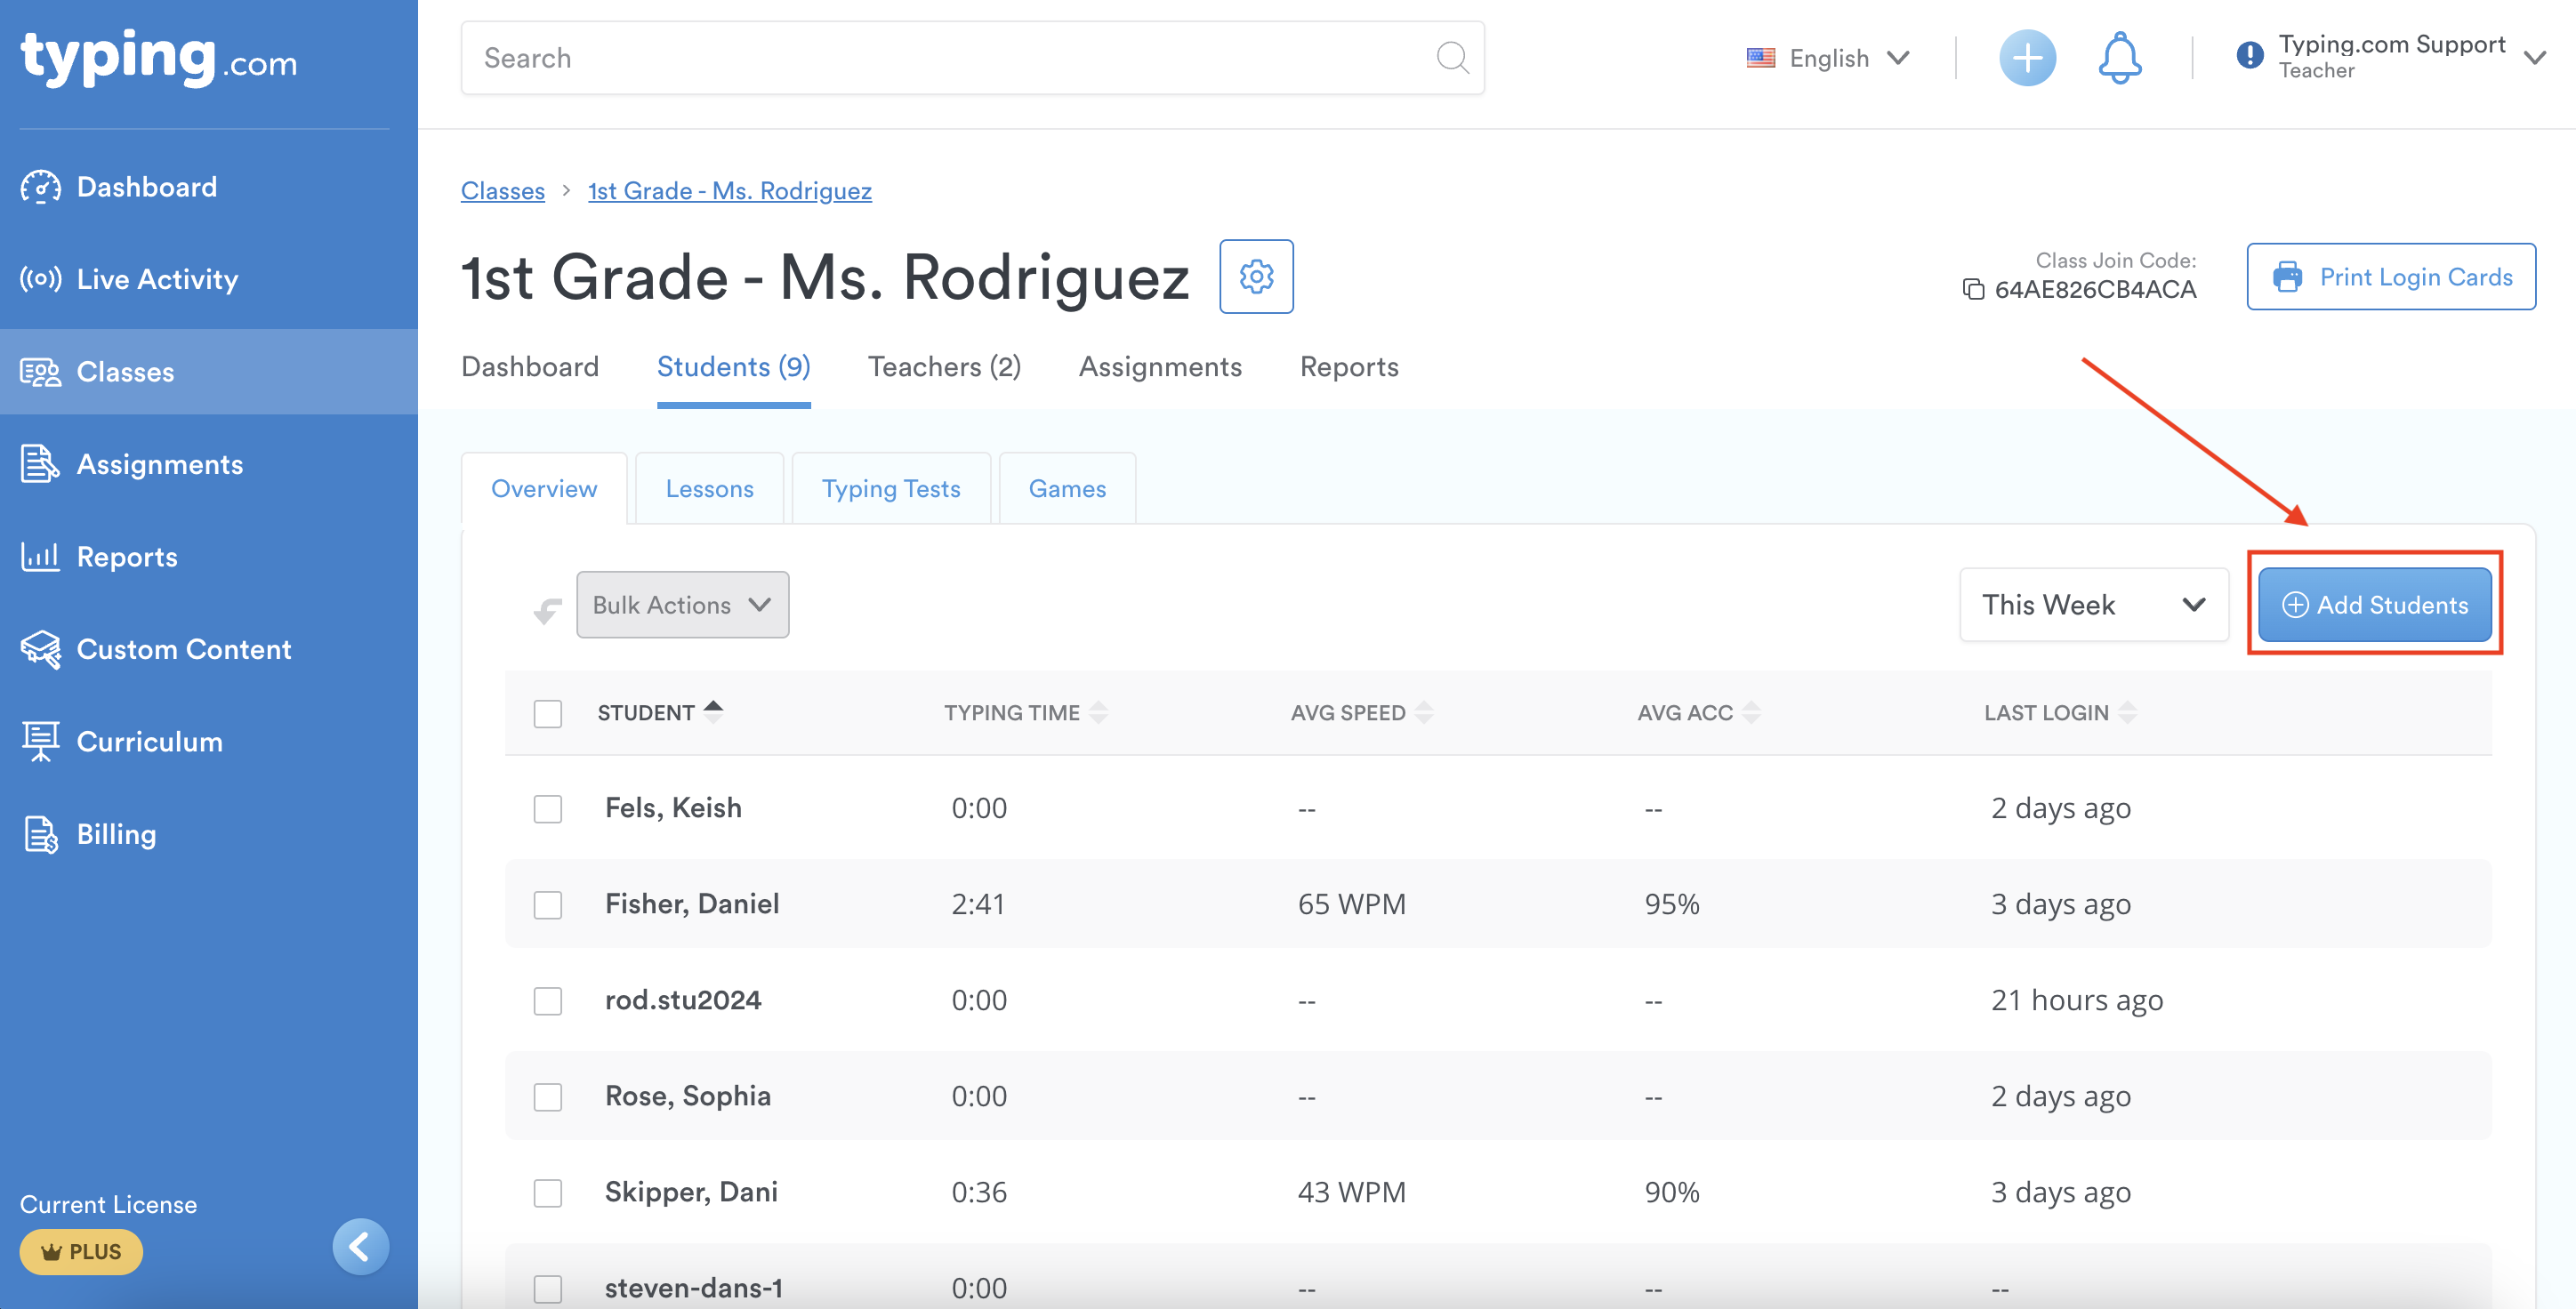
Step 5: Click the blue 'Add Students' button on the right-hand side.
Step 6: Click the 'Import Student List' button.

Step 7: Upload your CSV file by clicking the “Choose File” button.
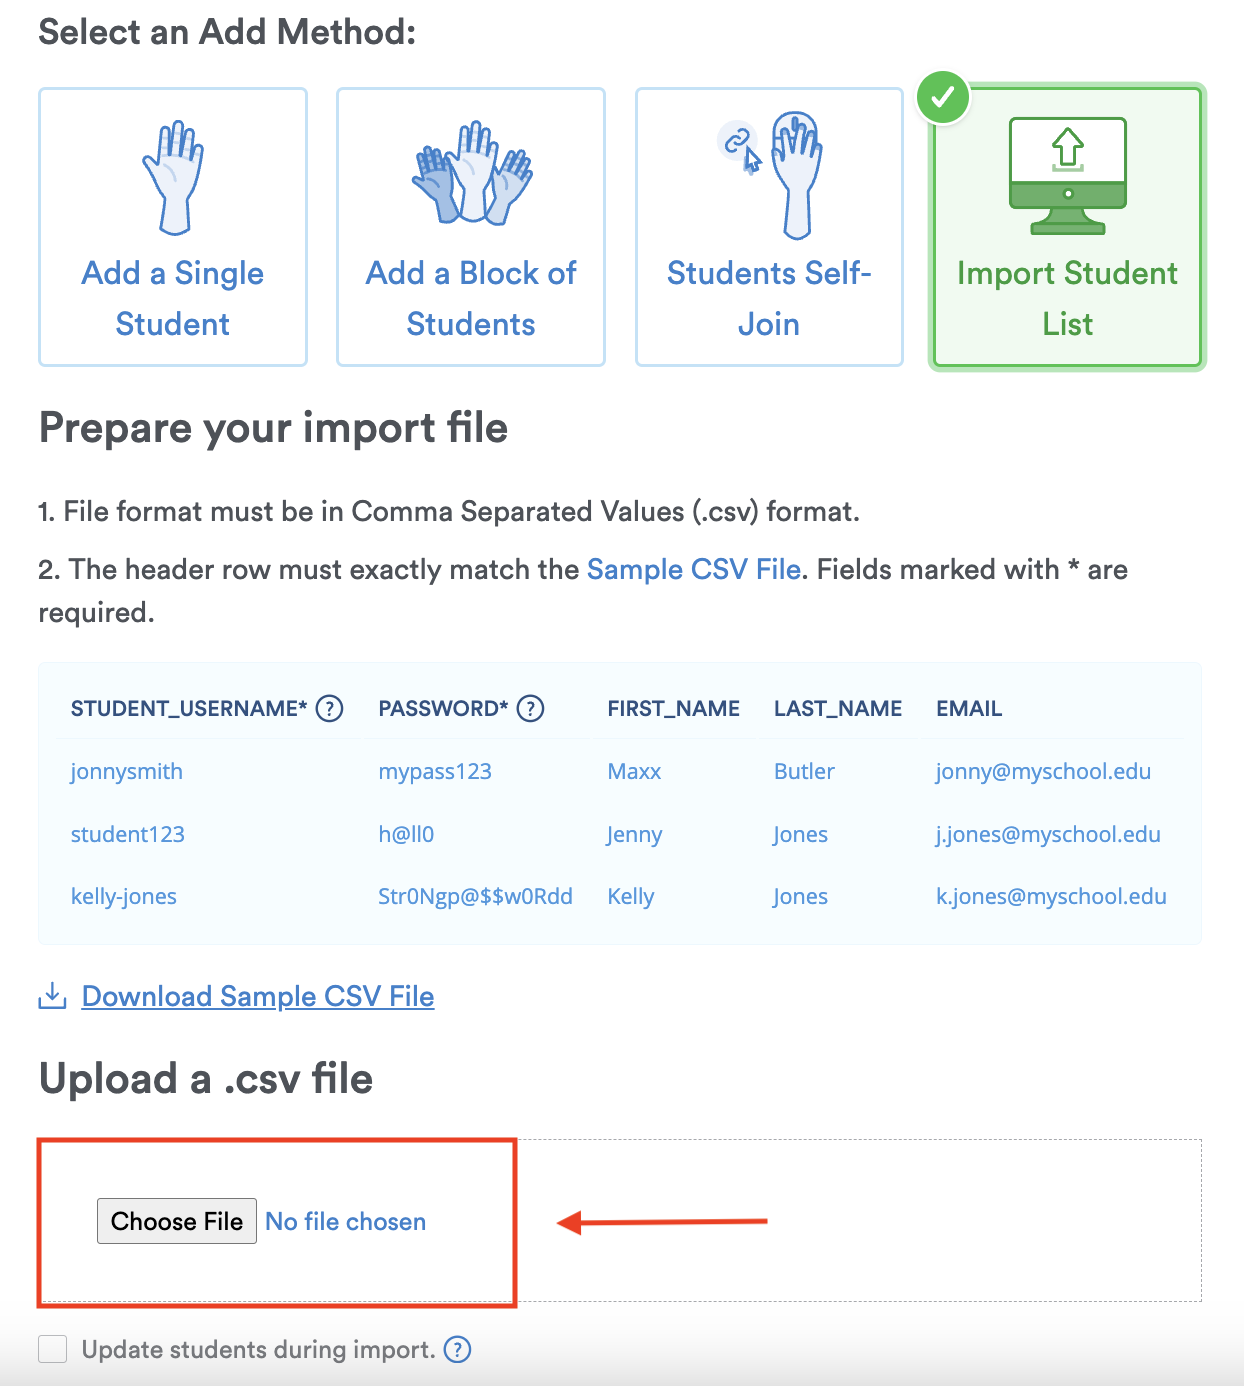
Pro-tip: You can drag and drop your CSV file.
Pro-tip: Check the 'Update students during import' box to update existing student records and place them in the specified class.
IMPORTANT:
File format must be “Comma Separated Values" (.csv).
The first row in your CSV file must exactly match the following:
Student_Username,Password,First_Name,Last_Name,EmailFields marked with * are required.
Check out our guide on HOW TO CREATE A COMMA SEPARATED VALUES (.CSV) FORMAT FILE to avoid any errors when uploading the file.
Step 8: Next, click “Begin Import”.
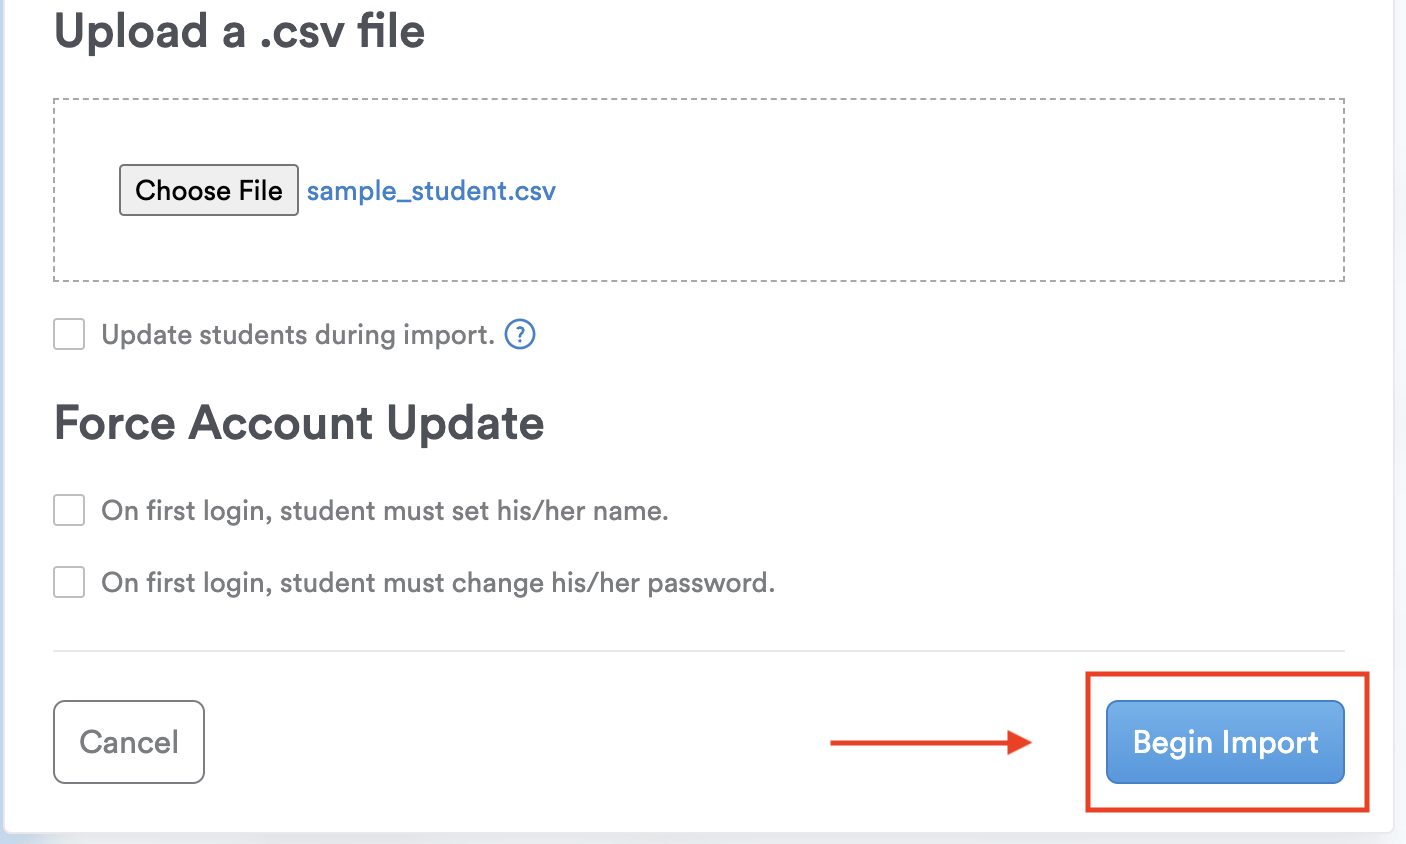
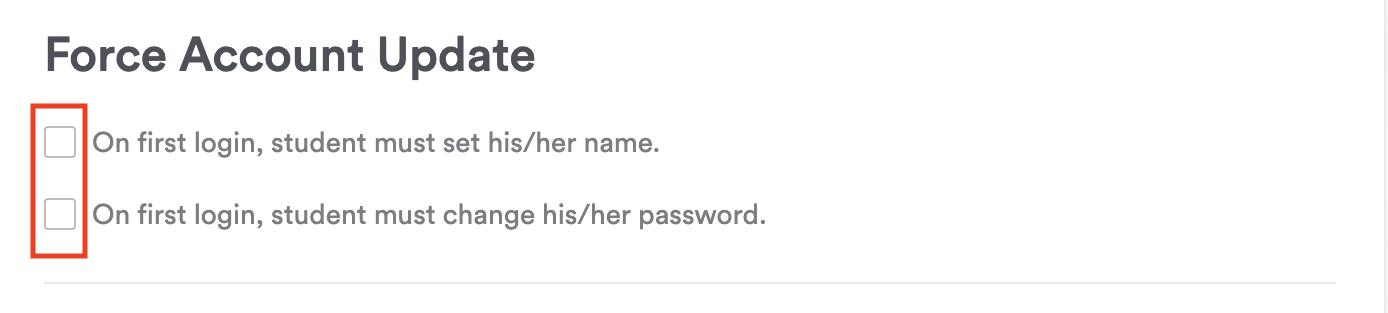
Optional: Below "On First Login", select the boxes that allow students to change their name and password upon their first login.
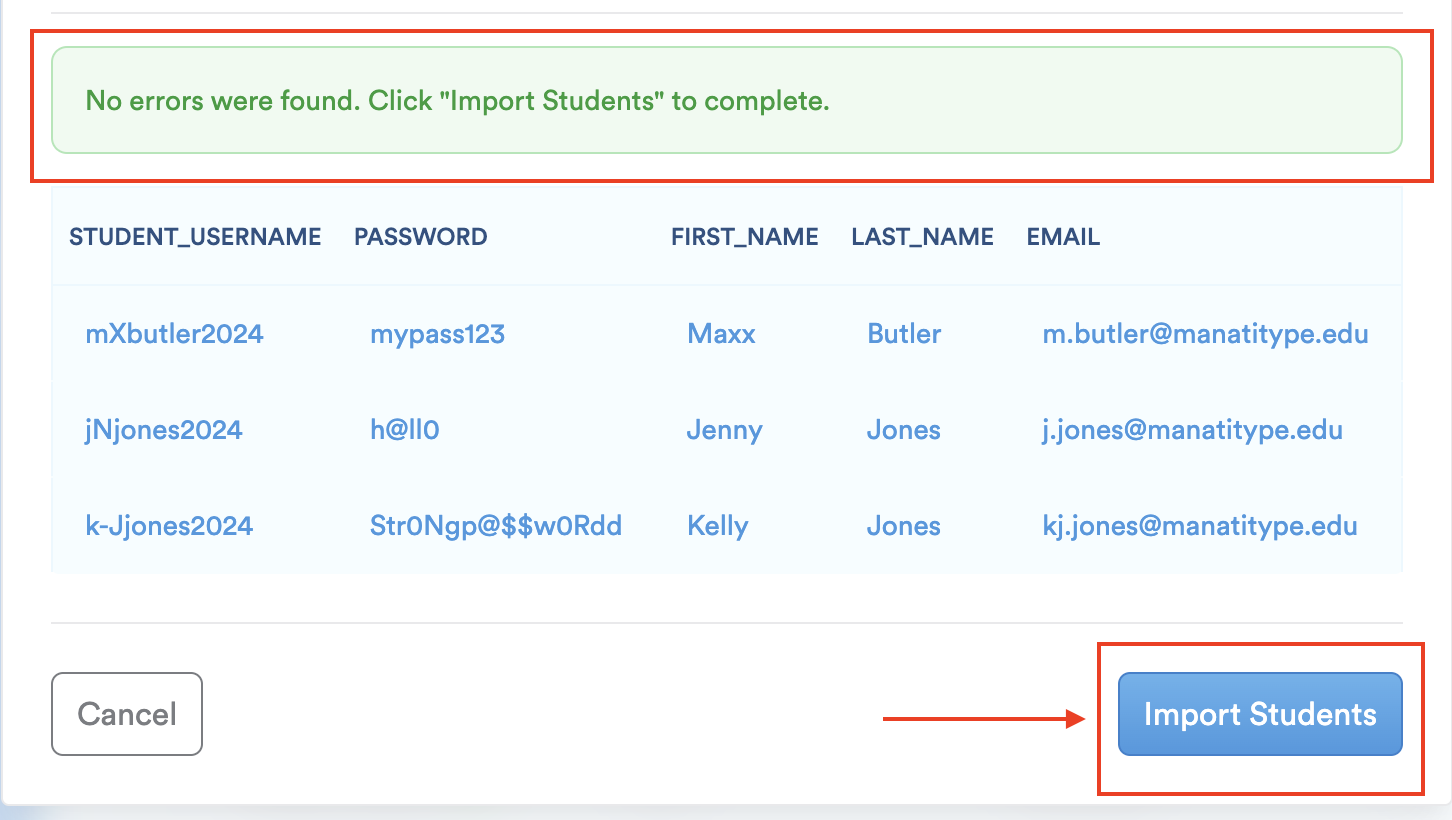
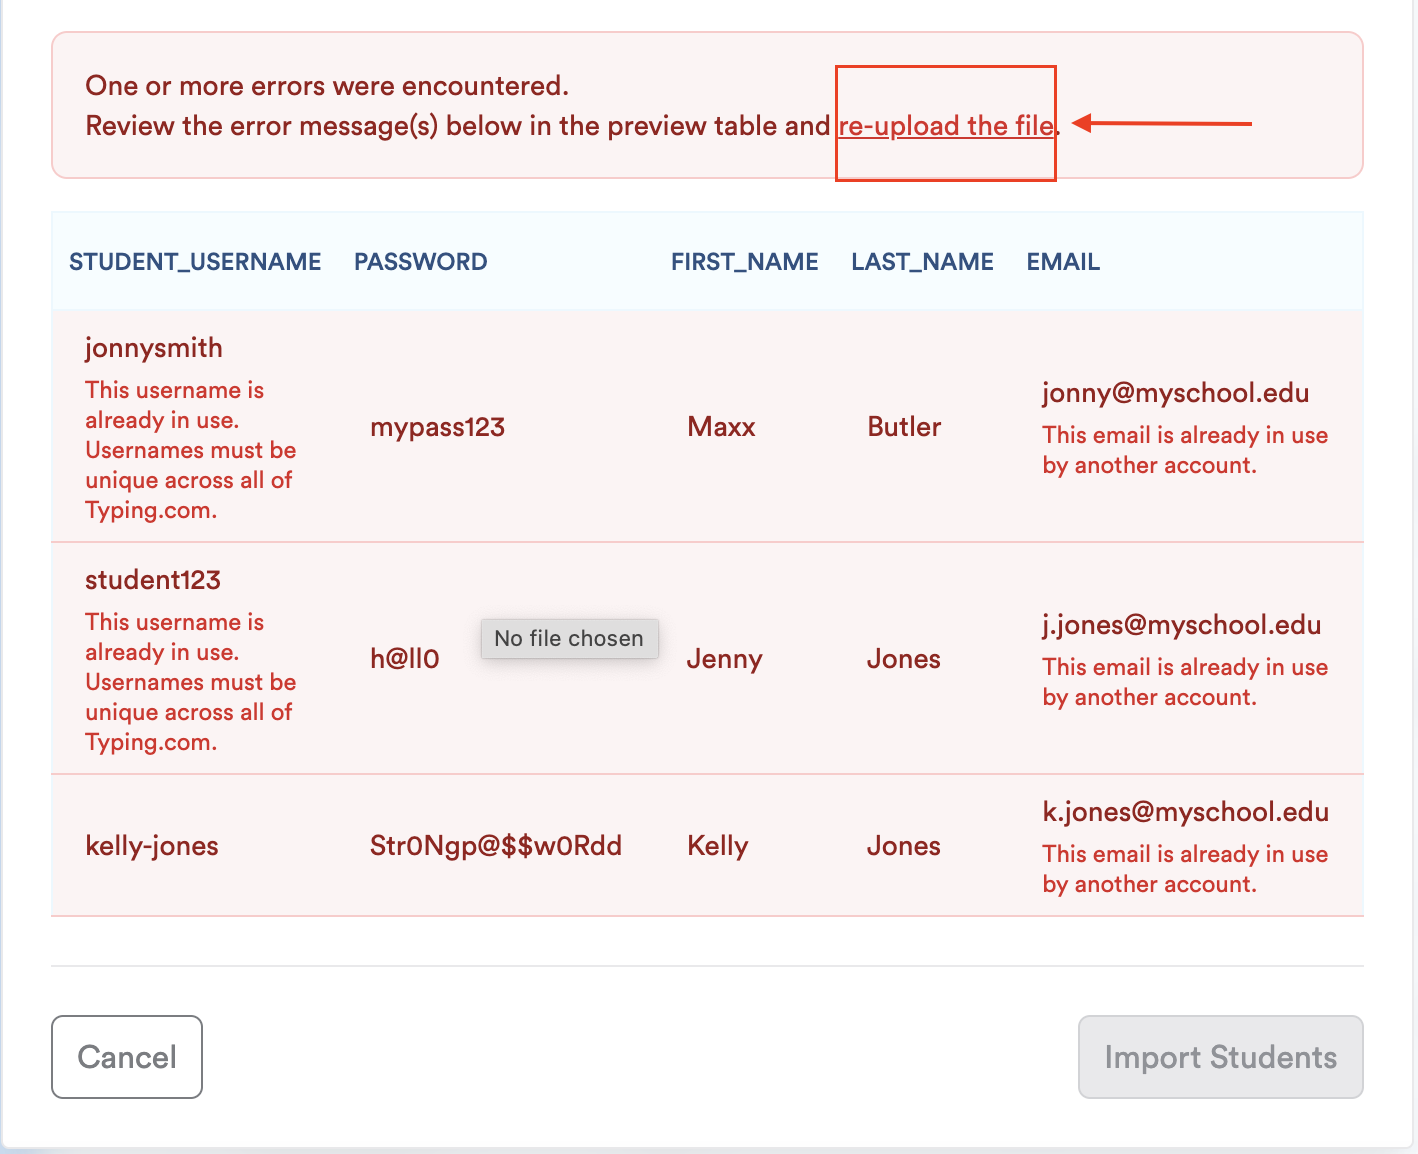
Step 9A: If no errors were found, click the “Import Students” button.
Step 9B: If there are errors, you will receive a red notification. Review the error messages, correct the errors, and re-upload the file by clicking on the 're-upload the file' link.
That's it! You have successfully imported your list of students to your account. Now your students are ready to start their typing journey. 😊