
Create a New Class (Teacher)
Ready to set up a new class on Typing.com? It's a breeze! Whether you're organizing your roster or starting fresh, we've got the steps to make it simple and fun. Follow along to get your class up and running in no time!
Pro-Tips:
Pro-Tip 1: If you're rostering your classes through Google Classroom, Microsoft Teams, or Clever Library, go to your teacher account > 'Classes' > Click 'Sync with Classroom/Clever/Microsoft.' Then, select the classes you want to add or remove.
Pro-Tip 2: For Clever or ClassLink users, add/remove classes in Clever/ClassLink first, then wait for the account to re-sync overnight.
Step 1: Log in to your Teacher Portal HERE.
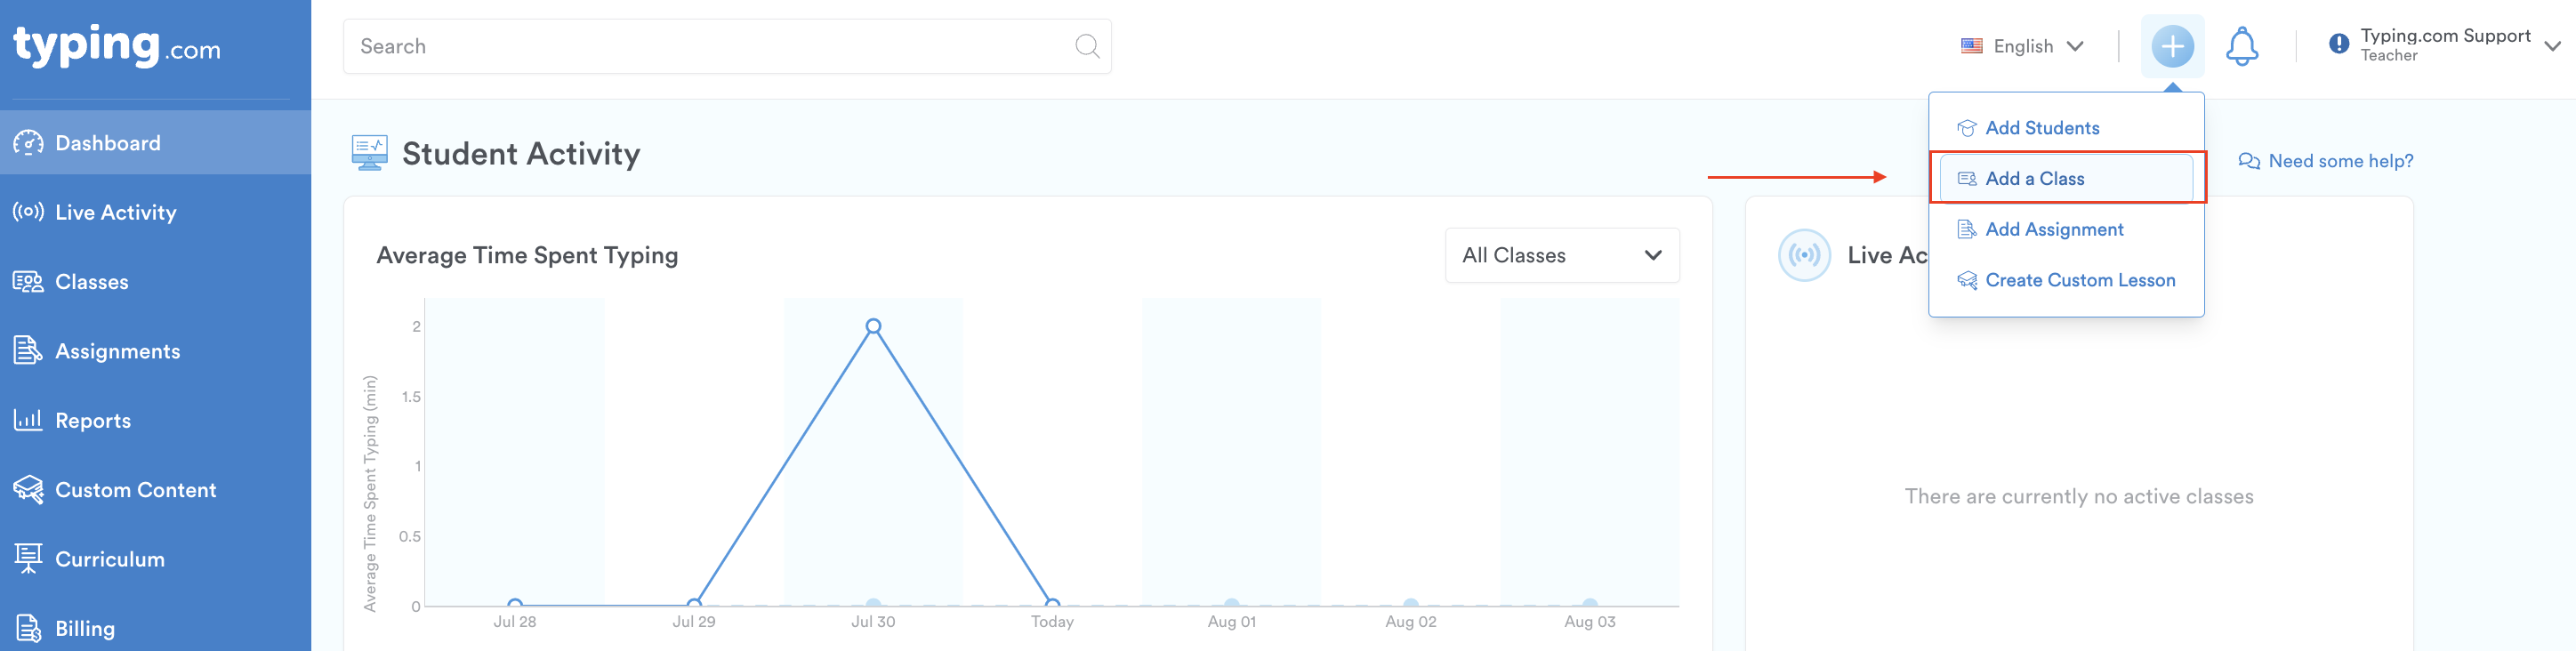
Step 2: Hover your mouse over the plus sign icon on the top right corner.

Step 3: Click "Add a Class."
Step 4: Enter the class's details such as the class name, curriculum, grade, keyboard layout, and class status.
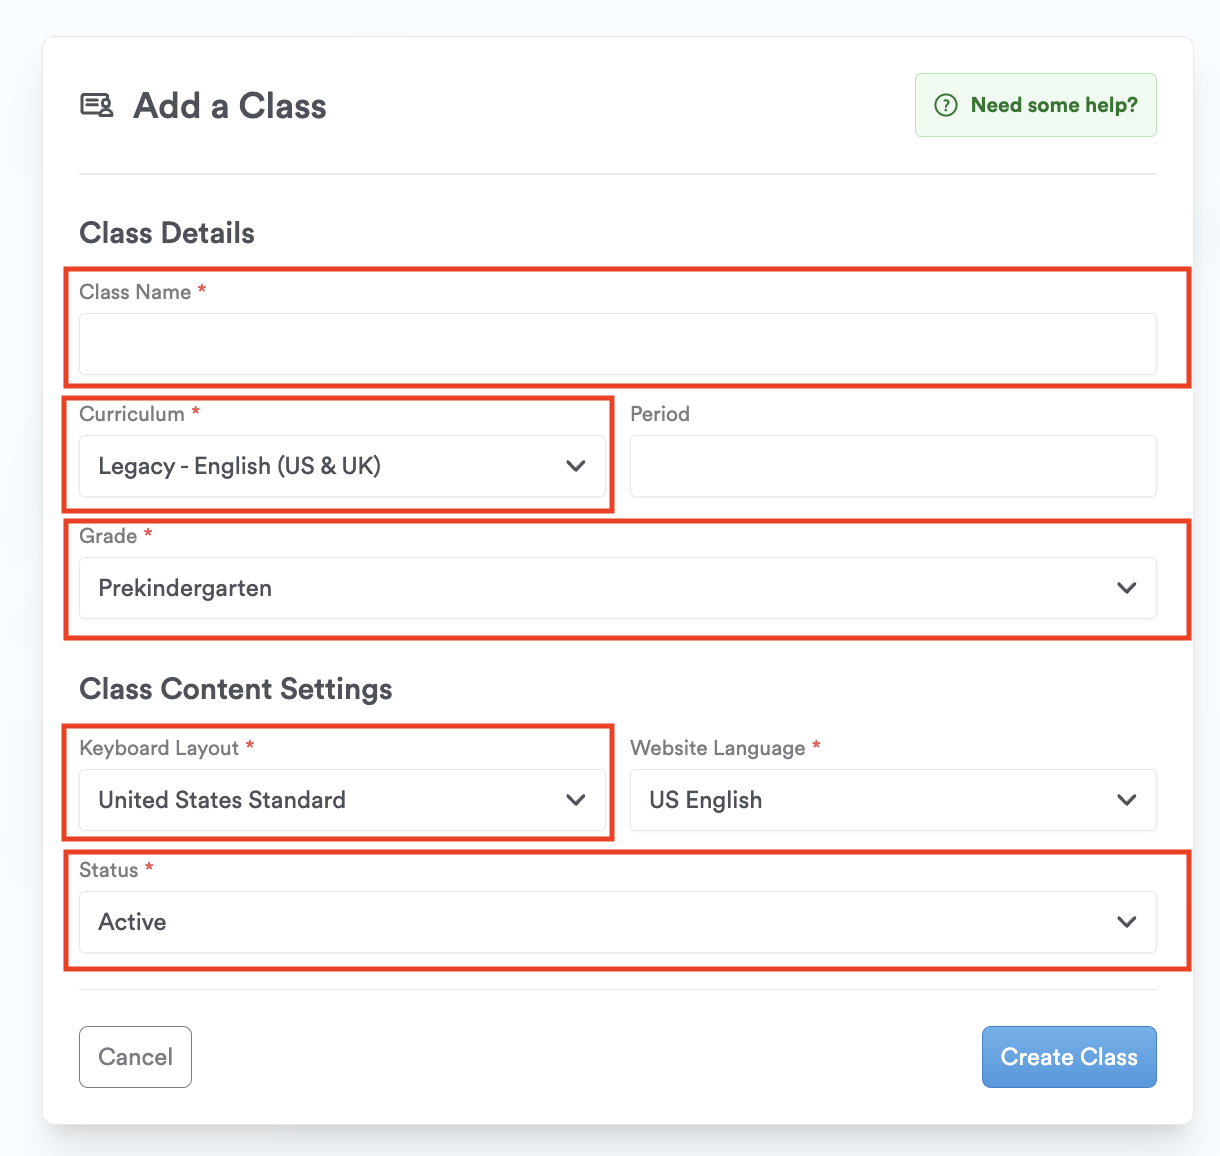
Pro-Tip: If the status of the class is 'paused', your students won't be able to log in until the class is 'active'. To learn more about this feature, click HERE.
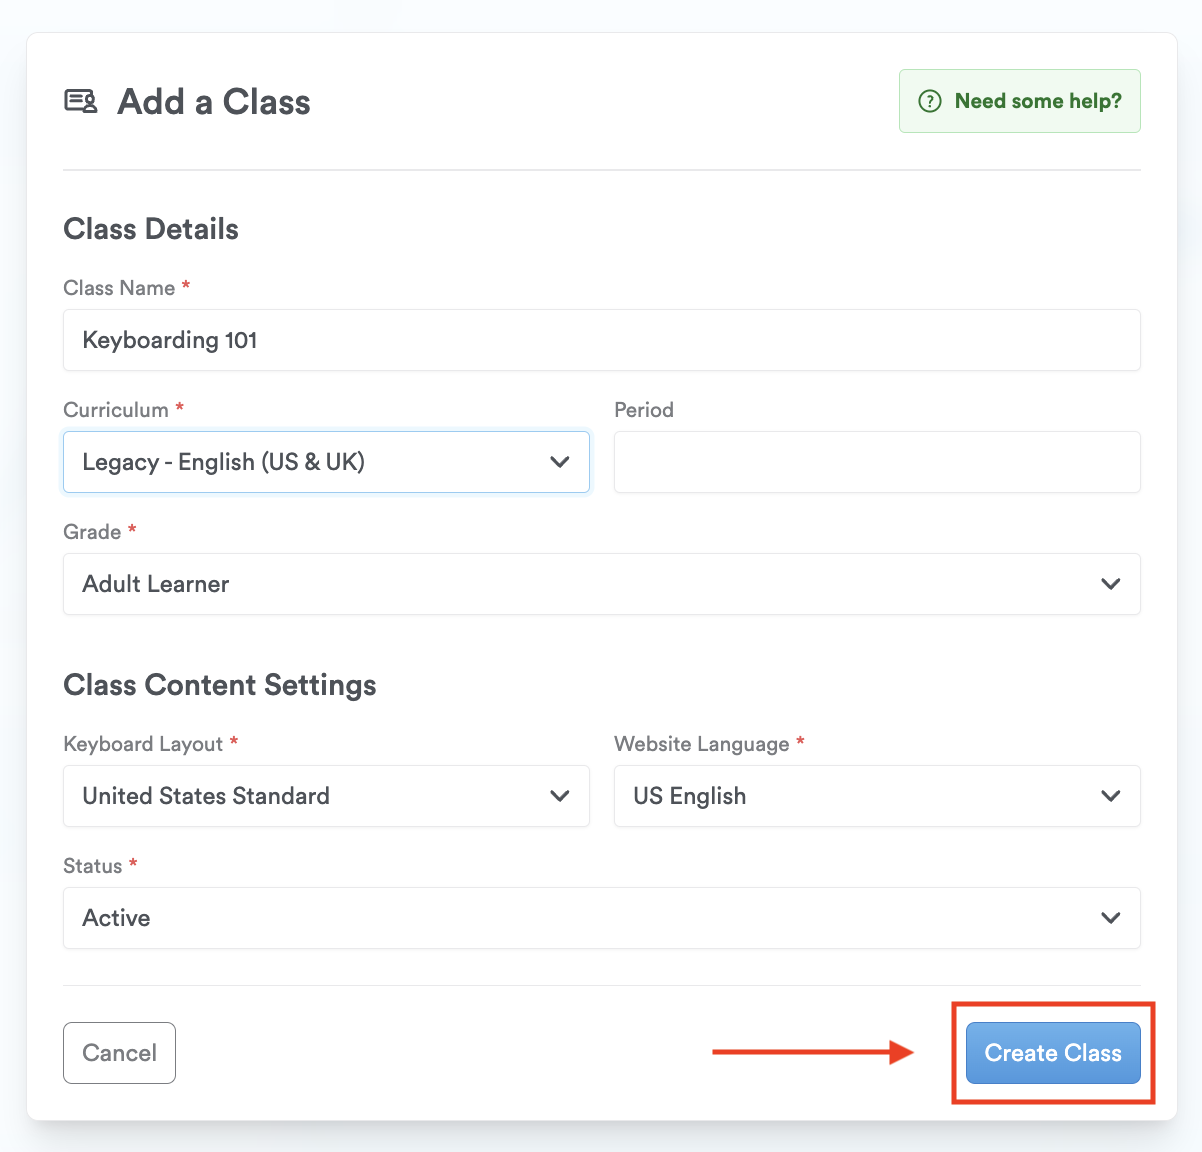
Step 5: Click "Create Class" to save details and add your class.
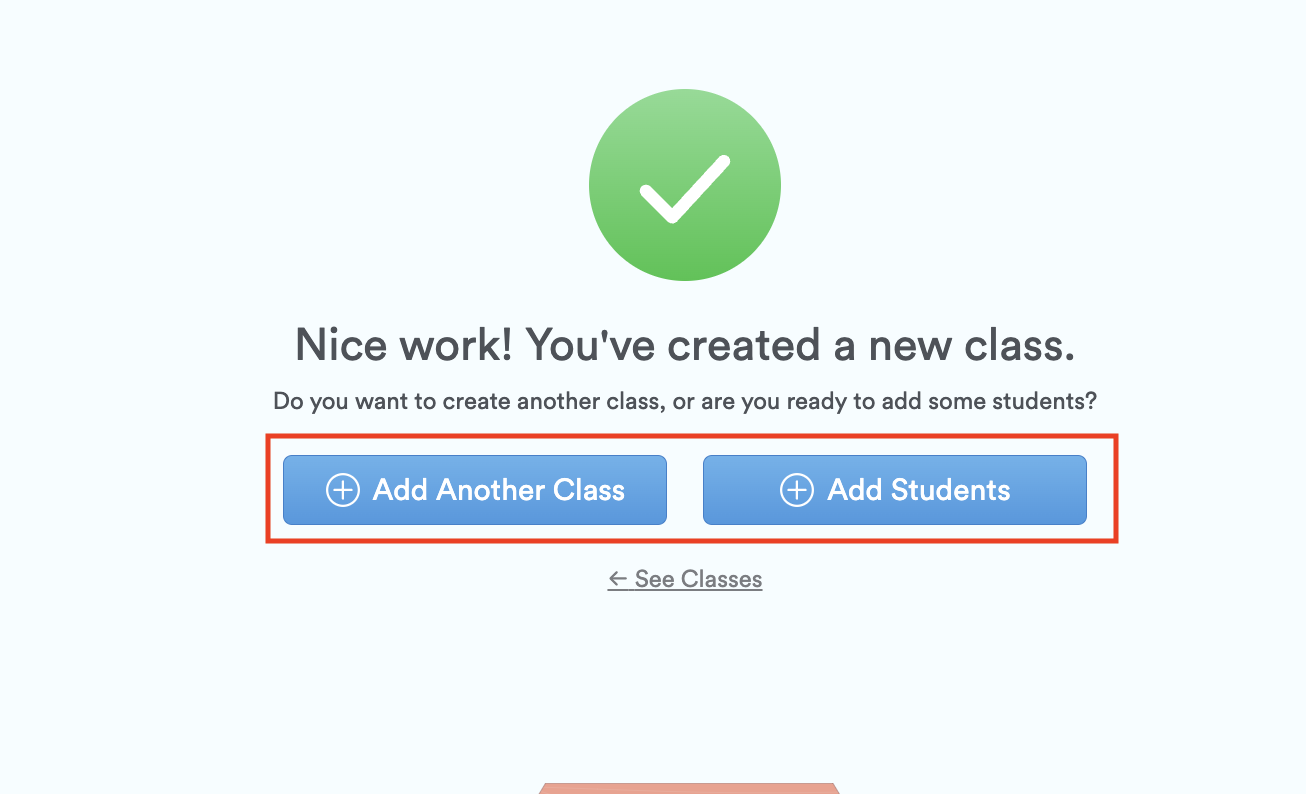
Step 6: After creating the class, you have the either create another class by clicking 'Add Another Class' or add students by clicking 'Add Students.'
That's it! You've successfully created a class. Next, you'll want to add students. Click HERE to learn how to add students to your classes. Happy teaching! 😊