
How to Know the Best Way to Add Students
Adding students to your Typing.com class is a breeze! Whether you prefer using a self-join link, syncing with Google Classroom, or importing a student list, we’ve got you covered. Let’s explore the various methods to get your students up and typing in no time!
For a visual guide, check out our How-to Video.
Pro-Tips
Pro-Tip 1:Your students don't need an email address to use Typing.com. Once you've created your first class, choose one of these easy ways to add your students:
Give them a student self-join link so they can join anytime without your help.
Sync using Google Classroom or Microsoft Teams.
If you're using ClassLink, ensure Typing.com is enabled by your IT department for instant student sync from your SIS.
If you're using Clever, your account should sync automatically when you log in. If not, contact IT.
Pro-Tip 2:
If adding students to your class via Google Classroom or Clever Library, add the student to your class in Google Classroom or Clever first. Then, re-sync your account by going to "My Classes" > "Sync with Classroom or Clever."
If syncing your classes via Clever or ClassLink, contact your school's IT administrator to add the student in Clever/ClassLink, then wait for the account to re-sync overnight.
Step 1: Log in to your Teacher Portal HERE.
Step 2: Hover over the plus sign icon on the top right corner.

Step 3: Click "Add Students" from the dropdown menu.
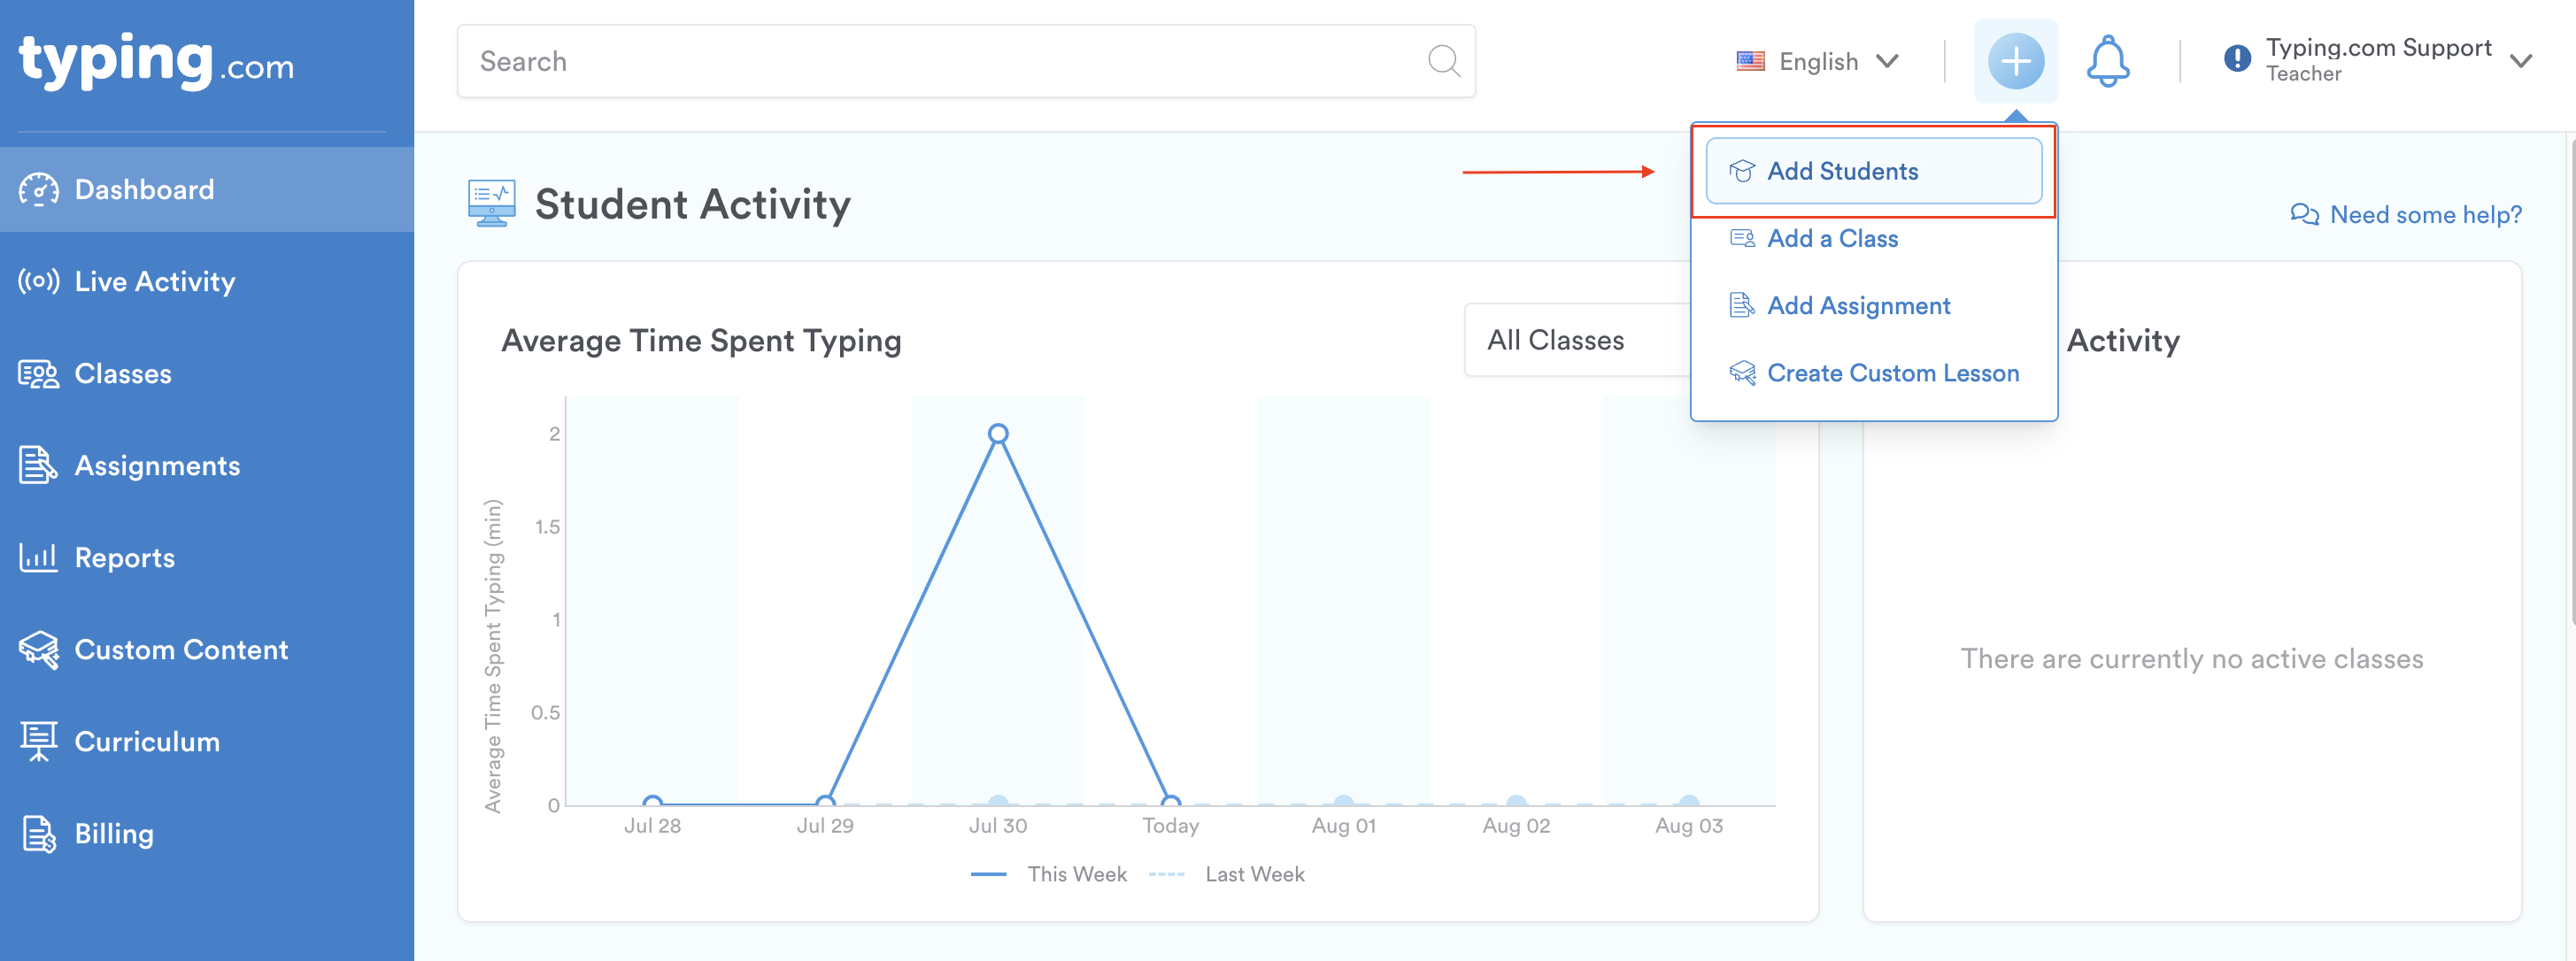
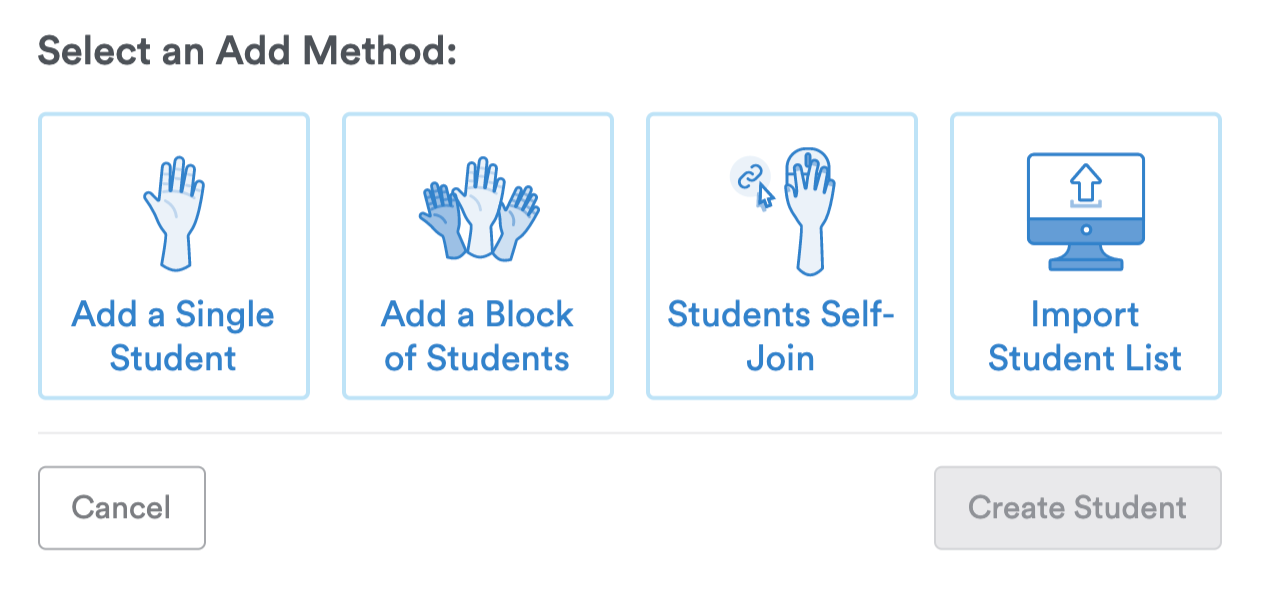
Step 4: A box will appear displaying various methods to add your students:
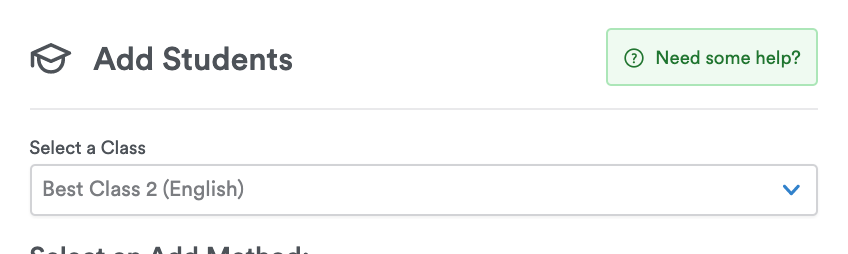
Pro-Tip: If you have more than one class, make sure that you select which class you need to add your student to.
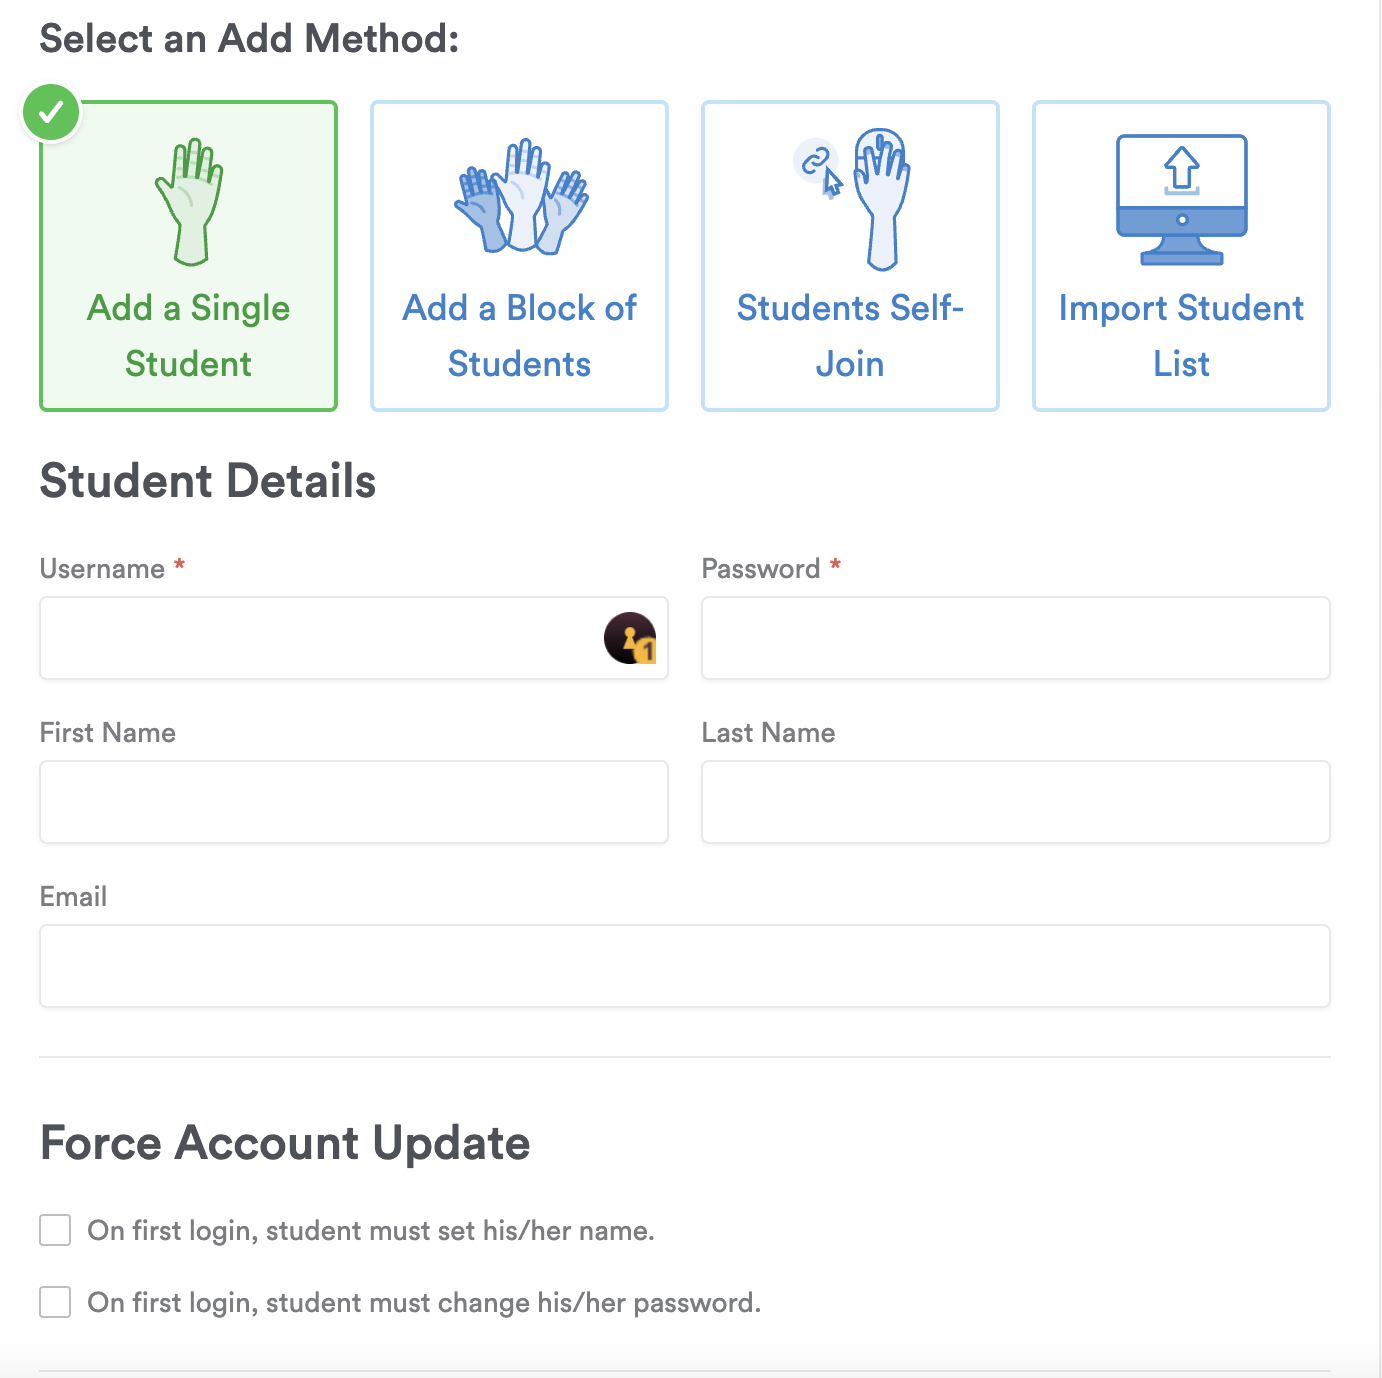
Method 1: Add a Single Student
Add students one at a time by entering a username, password and email (optional). This method creates student accounts from scratch. Note: Username must be unique across all of Typing.com.
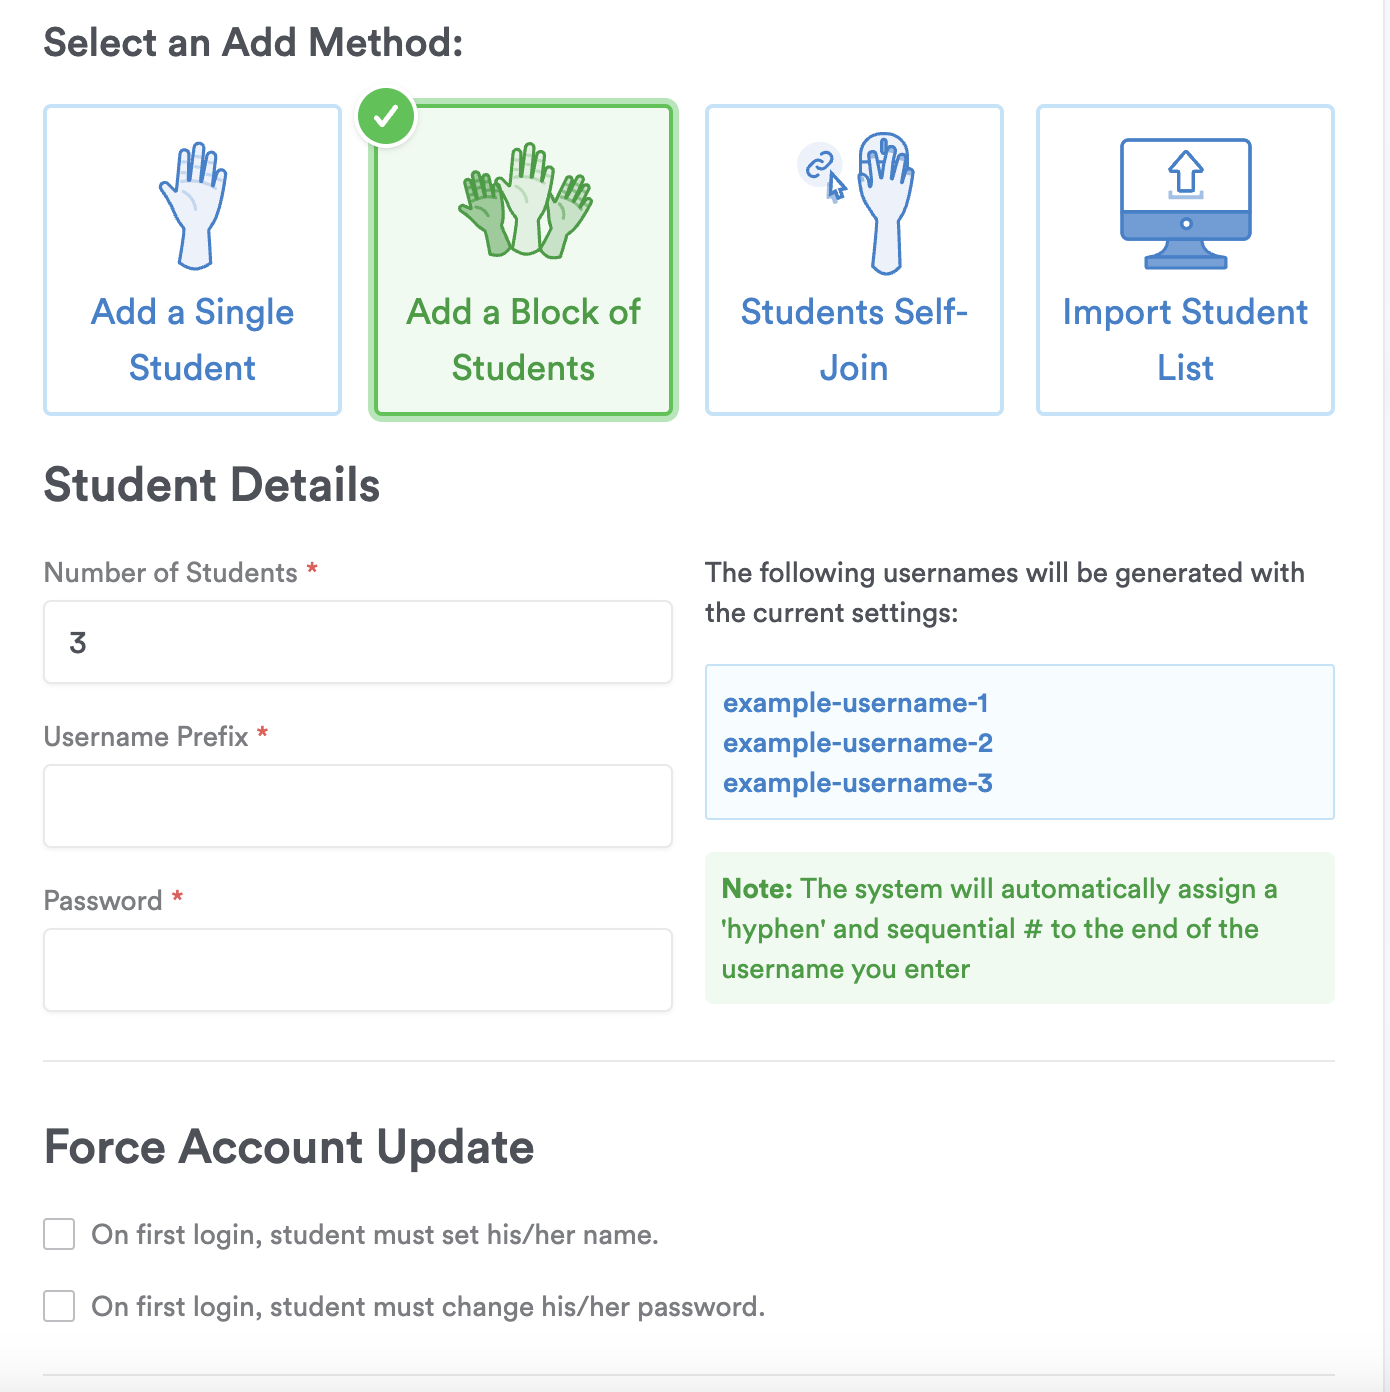
Method 2: Add a Block of Students
Add any number of students using the same prefix for their username (e.g., usernames: nyc-1, nyc-2, nyc-3, etc.). This method also creates student accounts from scratch. Note: If the page doesn't let you add a block of students, or if only some student accounts get created, change the username prefix and try again.
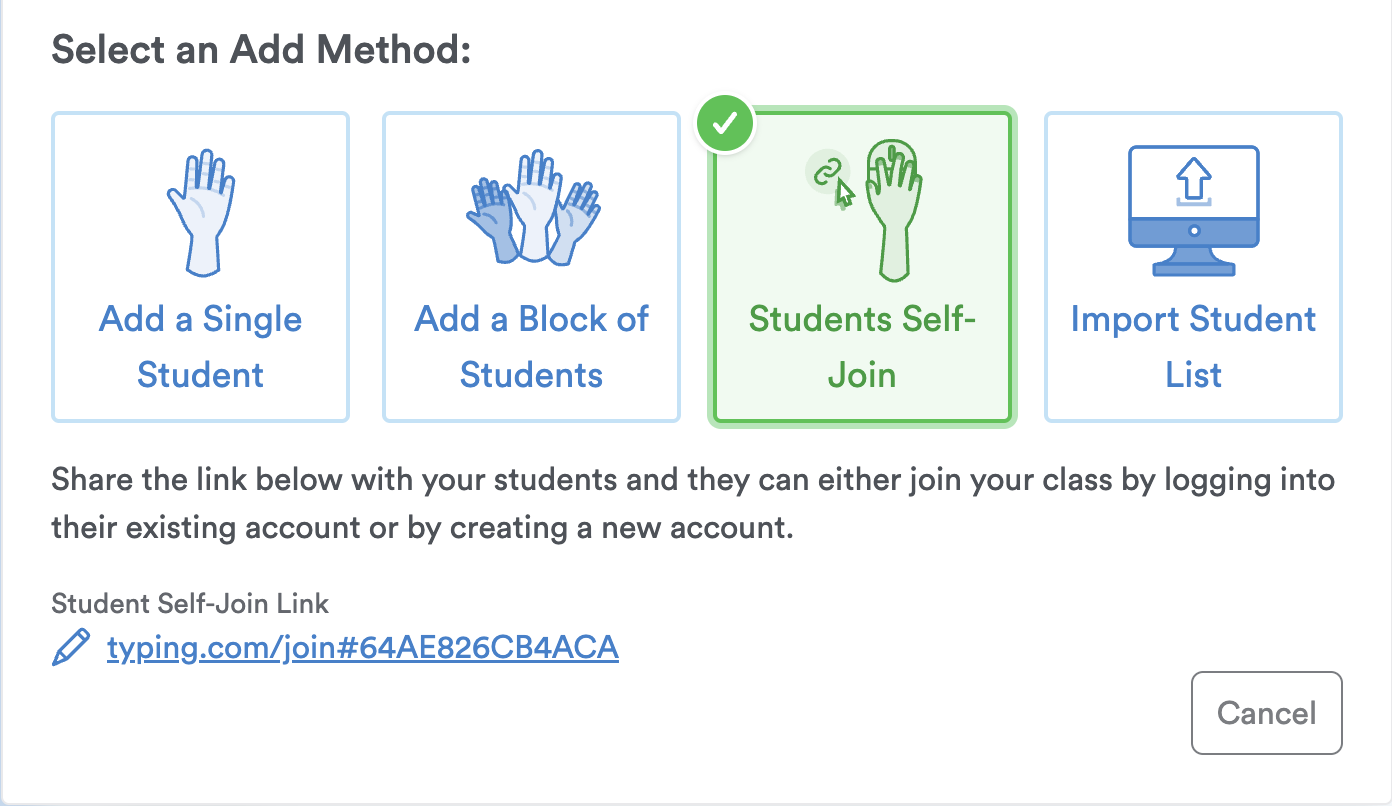
Method 3: Students Self-Join
Provide the class self-join link to your students and have them enter it into their browser address bar. On the login page that appears, students can create their accounts by adding a username and password. Students with existing accounts can enter their logins by selecting "Join with Login." For Google SSO, instruct students to click the Google SSO button and not enter anything in the username and password fields. For more details, check out our article Using the Student Self Join Link. Note: The self-join link cannot be used if you're rostering your classes through Google Classroom, Clever, or ClassLink.
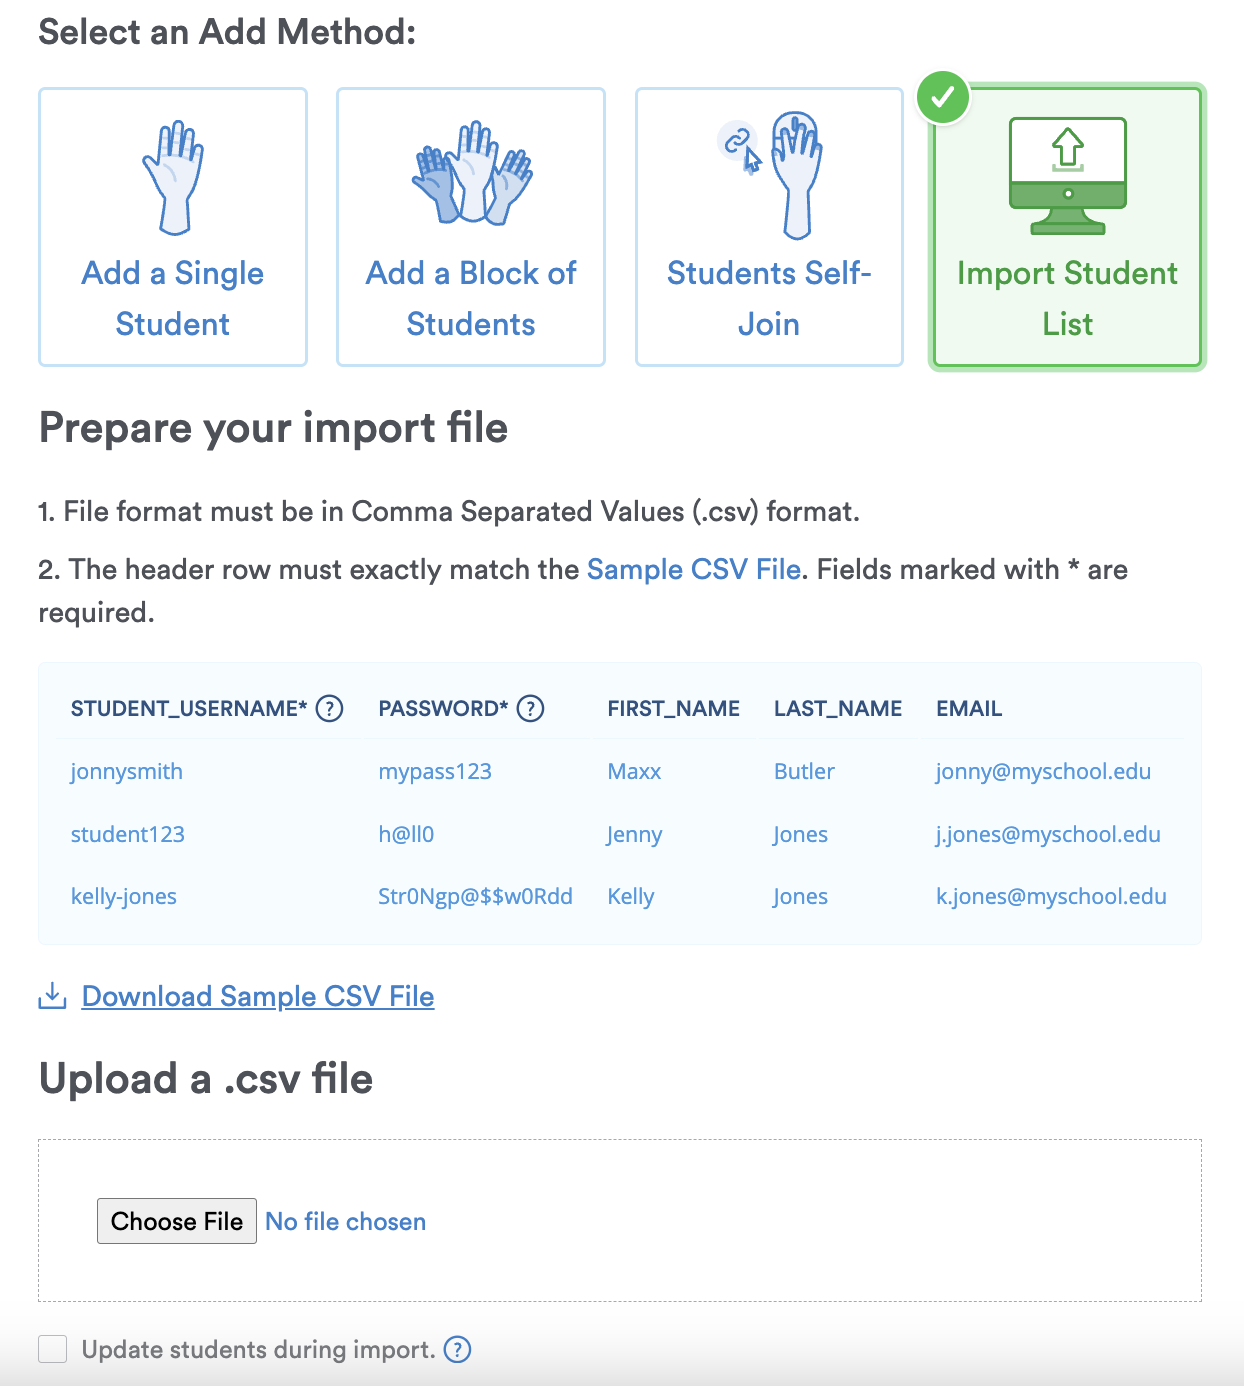
Method 4: Import a Student List
If you wish to import a list of students, please check out our in-depth article on Importing a List of Students.
Select the method that works best for you and your students. That’s it! Now you know four methods to add or join students. Happy typing! 😄